
2 月 . 14, 2025 03:35 Back to list
wiper seals

3. Remove the Old Wiper Seal With the cylinder opened, locate the wiper seal. Use a seal puller or a flat tool to carefully extract the old seal, taking care not to scratch or damage the surrounding surfaces. 4. Inspect and Clean Inspect the rod and surrounding areas for any signs of wear, corrosion, or damage. Clean the components thoroughly to remove any debris or contamination that could affect the new seal’s performance. 5. Install the New Seal Lightly lubricate the new wiper seal with hydraulic fluid to ease installation. Carefully position and press it into the groove, ensuring it sits flush and even. Using appropriate installation tools can help avoid damage to the seal. 6. Reassemble the Cylinder Reassemble the cylinder following your documentation. Ensure proper alignment and torque specifications are met according to the manufacturer's guidelines. 7. Test the System After reassembly, test the hydraulic cylinder under low pressure to check for leaks or additional signs of wear. Gradually increase the pressure to full operational settings, monitoring the system closely. Professional Tips - Always use OEM parts or high-quality aftermarket replacements to ensure longevity and compatibility. - Maintain a routine inspection schedule to identify potential issues before they necessitate a complete system overhaul. - Keep detailed maintenance records, as this history is invaluable for troubleshooting future issues. In achieving mastery in hydraulic maintenance tasks like wiper seal replacement, one not only ensures the machinery's optimal performance but also extends its operational life significantly. By adhering to these expert recommendations and protocols, you cultivate a practice of precision and reliability, fostering trustworthiness in every maintenance activity. This comprehensive guide serves as a testament to the expertise and authoritative standards required for such specialized work, providing an unparalleled resource for technicians worldwide.
-
The Power of Advanced Sealing: High-Pressure Solutions for Modern Machinery
NewsOct.29,2024
-
Optimizing Machinery with High-Performance Oil Seals
NewsOct.29,2024
-
Maximizing Machinery Efficiency with Advanced Oil Seals
NewsOct.29,2024
-
Ensuring Equipment Longevity with Quality Oil Seals
NewsOct.29,2024
-
Enhance Equipment Performance with Quality Oil Seals
NewsOct.29,2024
-
Custom Oil Seals for Specialized Machinery Needs
NewsOct.29,2024
-
The Role of Wiper Seals in Dust Sealing and Oil Protection
NewsOct.20,2024
Products categories
-
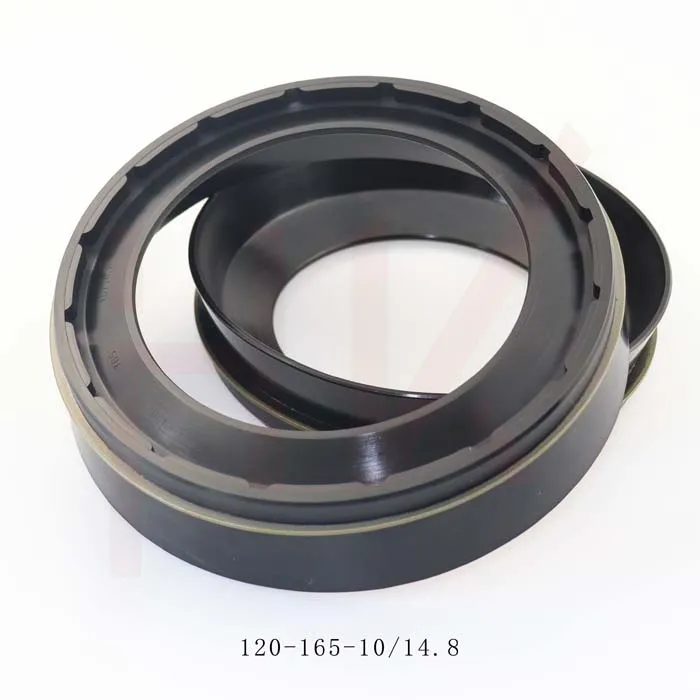
0734307418 0750112169 120*165*10/14.8 concrete mixer reducer oil seal
-
35*52*16 Standard Wheel Hub Oil Seal For Agricultural Machinery
-

123*165*14.8 concrete mixer truck reducer oil seal
-
Tractor shaft oil seal 65-90-20 COMBI SF19 hub oil seal
-
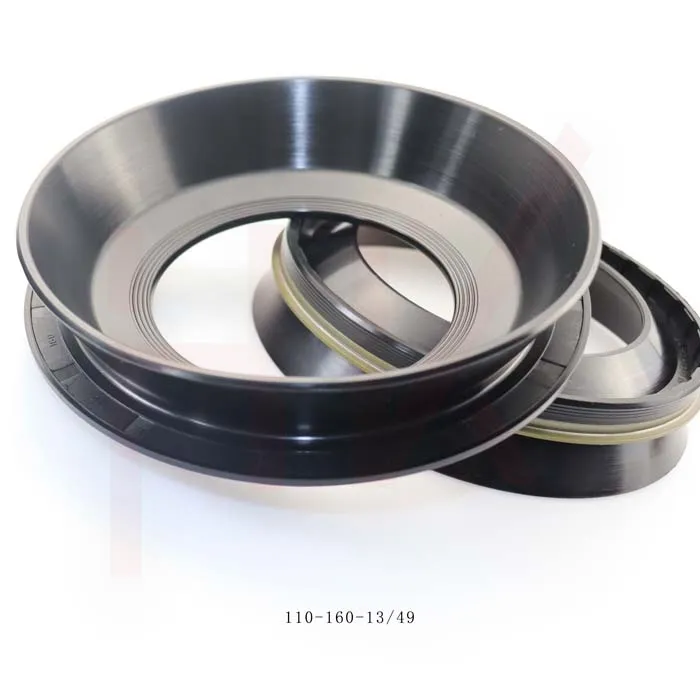
110*160*13/49 NBR reducerConcrete mixer truck oil seal
-
Hub oil seal 40*65*13/14.5 suitable for tractor Cat 12018035b
-
Cement tank truck bowl-shaped oil seal 135*175*11/38 K713 concrete mixer reducer oil seal
-
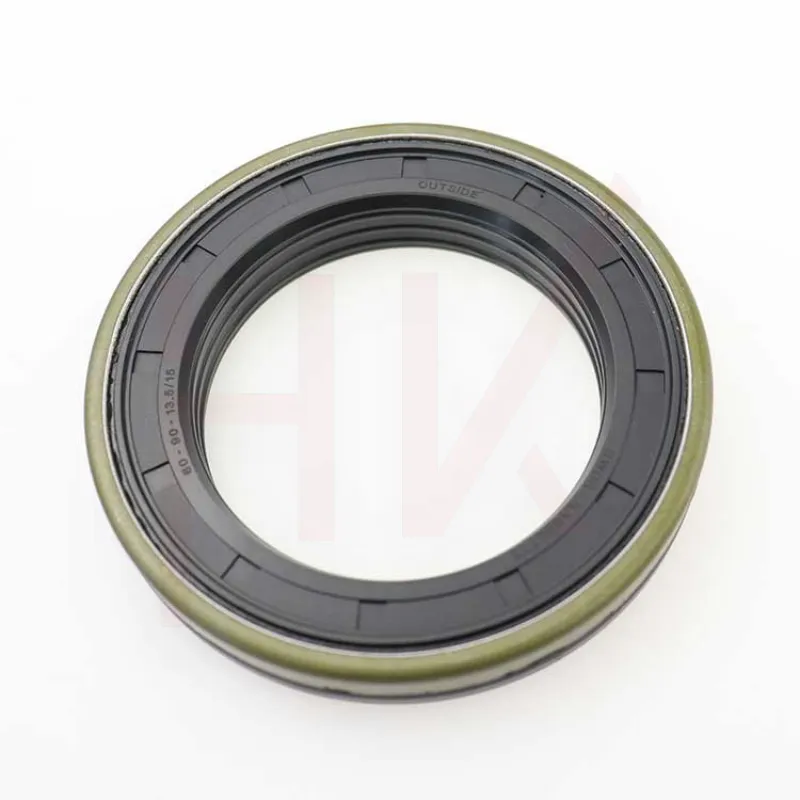
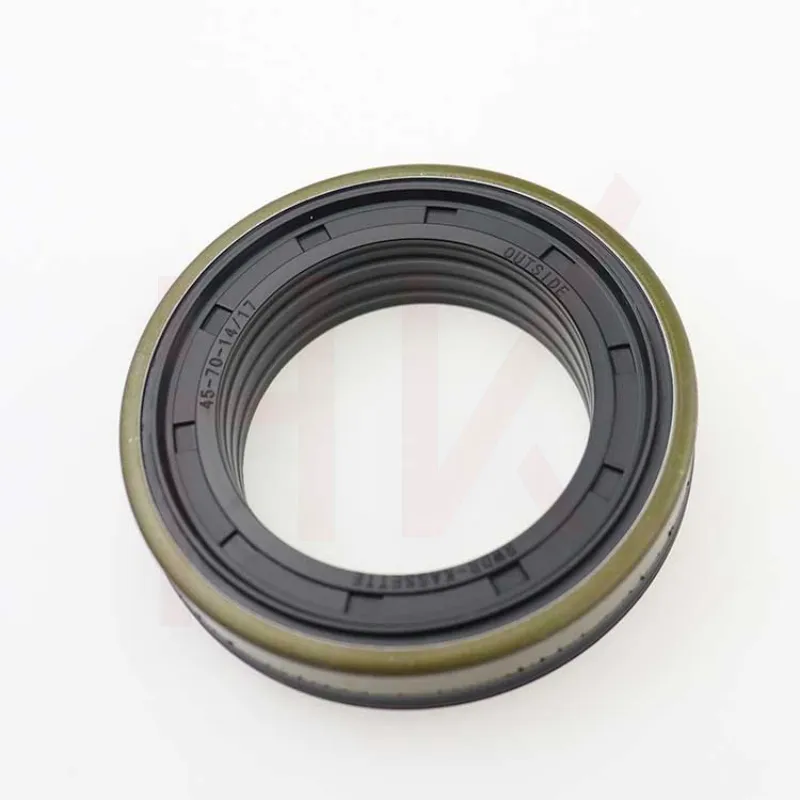
Tractor accessories cassette oil seal hub oil seal 60-90-13.5/15
-
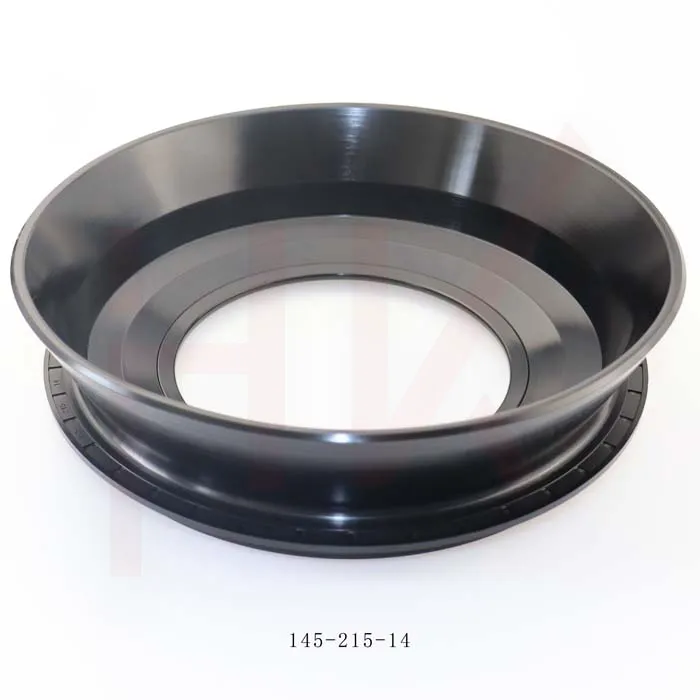
Factory concrete mixer truck oil seal 145*215*14 reducer gearbox oil seal
-
145*189*15.5/17 Cassette Seal NBR Hub Oil Seal 1508044
-

Factory direct sales hydraulic pump motor seal kit A8VO140
-
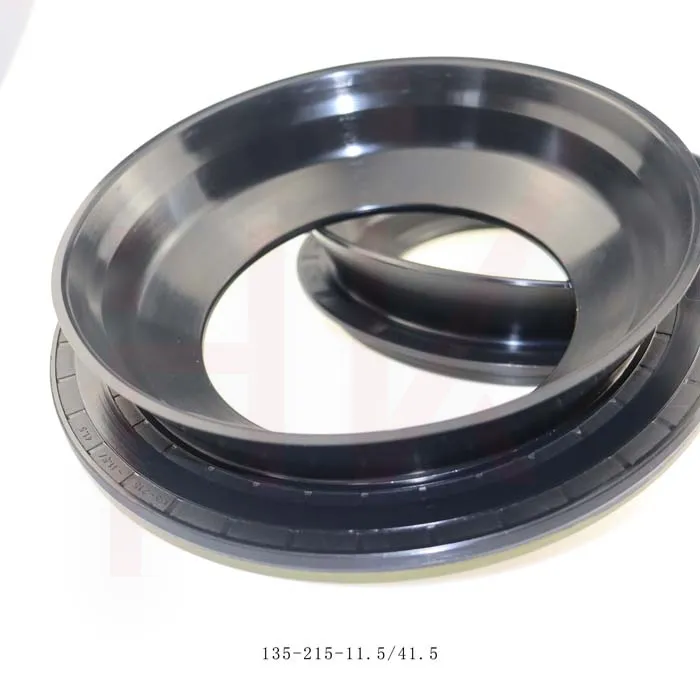
Brand new cement tanker oil seal 135*215*11.5/41.5 concrete mixer oil seal
-

Standard oil seal BP0494 High pressure TCN oil seal
-
45*65*15 Combi oil seal JCB 90450009 COMBI SF1 SEAL
-
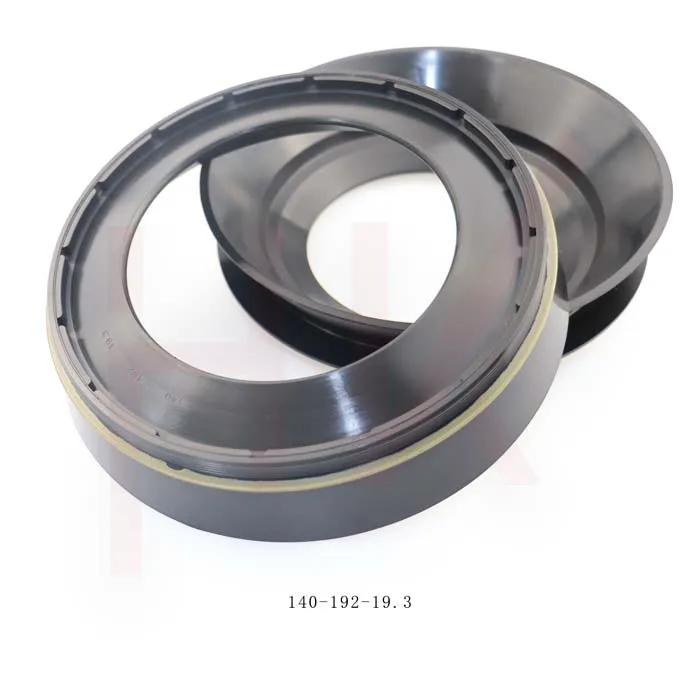
Gear box concrete mixer oil seal 140*192*19.3 nbr reducer oil seal
-
Hydraulic pump seal AP4624G high pressure TCN oil seal