
10 月 . 11, 2024 12:07 Back to list
Excavator Boom Cylinder Seal Replacement Guide for Optimal Performance and Maintenance
How to Replace the Seal on an Excavator Boom Cylinder
Excavators are essential pieces of heavy machinery used in construction, mining, and various other industries. The boom cylinder, an integral part of an excavator, allows the boom to lift and lower. Over time, the seals in the boom cylinder can wear out due to exposure to hydraulic fluids, dirt, and general wear and tear. When seals begin to fail, it can lead to hydraulic fluid leaks, decreased performance, and potentially costly repairs if not addressed promptly. This article will guide you through the process of replacing seals on an excavator boom cylinder.
Understanding the Basics
Before diving into the replacement process, it's essential to understand the components of the boom cylinder. The cylinder consists of the barrel, rod, piston, and seal pack. The seals are designed to retain hydraulic fluid within the cylinder, providing the necessary pressure to lift heavy loads. Typical signs of seal failure include visible leaks, reduced lifting power, or unusual noises when operating the boom.
Tools and Materials Needed
Before starting the replacement, ensure you have the following tools and materials on hand
- Safety goggles and gloves - Wrenches and socket set - Hydraulic seals compatible with your excavator model - Hydraulic oil - Prying tool or seal puller - Torque wrench - Clean rags and a container for hydraulic fluid - Torque specifications for your excavator model
Safety Precautions
Safety should always be your top priority when working with heavy machinery. Ensure the excavator is on stable ground, the hydraulic system is depressurized, and the keys are removed from the ignition. Use personal protective equipment (PPE) such as safety goggles and gloves to protect yourself from hydraulic fluid leaks and sharp edges.
Step-by-Step Seal Replacement
1. Prepare the Workspace Ensure your workspace is clean and organized. Lay down a tarp or absorbent pads to catch any hydraulic fluid that may leak during the process.
2. Remove the Boom Assembly Use the appropriate wrenches to disconnect the boom cylinder from the excavator. This typically involves removing pins or bolts. Once detached, carefully lower the boom to prevent injury.
excavator boom cylinder seal replacement

3. Drain the Hydraulic Fluid Locate the drain plug on the boom cylinder and drain the existing hydraulic fluid into a suitable container. Proper fluid disposal is important, so refer to local regulations regarding hydraulic fluid disposal.
4. Disassemble the Cylinder Using the wrench and pry tool, carefully remove the end caps or additional components of the cylinder. Take care to remember the order in which components are removed for reassembly.
5. Remove Old Seals Once the cylinder is disassembled, use the seal puller to carefully extract the old seals from their grooves. Be cautious not to damage the cylinder surfaces while doing this.
6. Clean the Cylinder Use clean rags to wipe down the interior surfaces of the cylinder. Ensure that there is no debris or dirt left that could compromise the integrity of the new seals.
7. Install New Seals Apply a thin layer of hydraulic oil on the new seals before installing them. This helps create a better seal and reduces friction. Carefully press the new seals into their respective grooves, ensuring they are seated evenly.
8. Reassemble the Cylinder Reattach the end caps and any other components you removed earlier, ensuring everything is aligned properly. Use a torque wrench to tighten bolts to the manufacturer’s specified torque settings.
9. Reconnect the Cylinder Reattach the boom cylinder to the excavator, securing it tightly as per the specifications outlined in your excavator’s manual.
10. Refill Hydraulic Fluid Refill the hydraulic system with new hydraulic fluid. Ensure you are using the type and grade specified by the manufacturer.
11. Test the Boom Start the excavator and operate the boom to check for leaks and ensure smooth motion. Monitor the boom’s performance closely after the seal replacement to confirm that everything is functioning correctly.
Conclusion
Replacing the seals in an excavator boom cylinder is a manageable task for those with some mechanical experience. Regular maintenance, including seal replacement, can extend the lifespan of your equipment and prevent costly repairs in the future. However, if you are unsure at any step of the process or lack the necessary skills, it is always advisable to consult with a professional mechanic. Proper care and timely maintenance will keep your excavator running efficiently and safely for years to come.
-
The Power of Advanced Sealing: High-Pressure Solutions for Modern Machinery
NewsOct.29,2024
-
Optimizing Machinery with High-Performance Oil Seals
NewsOct.29,2024
-
Maximizing Machinery Efficiency with Advanced Oil Seals
NewsOct.29,2024
-
Ensuring Equipment Longevity with Quality Oil Seals
NewsOct.29,2024
-
Enhance Equipment Performance with Quality Oil Seals
NewsOct.29,2024
-
Custom Oil Seals for Specialized Machinery Needs
NewsOct.29,2024
-
The Role of Wiper Seals in Dust Sealing and Oil Protection
NewsOct.20,2024
Products categories
-
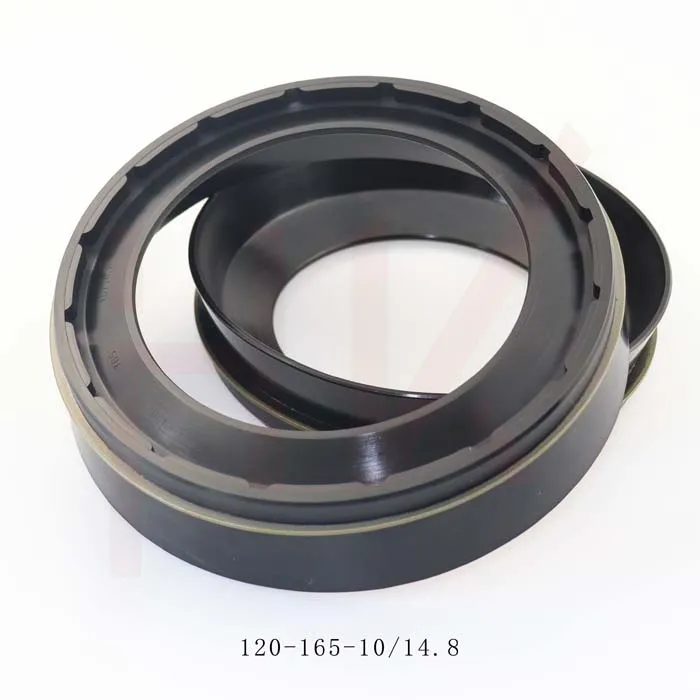
0734307418 0750112169 120*165*10/14.8 concrete mixer reducer oil seal
-
35*52*16 Standard Wheel Hub Oil Seal For Agricultural Machinery
-

123*165*14.8 concrete mixer truck reducer oil seal
-
Tractor shaft oil seal 65-90-20 COMBI SF19 hub oil seal
-
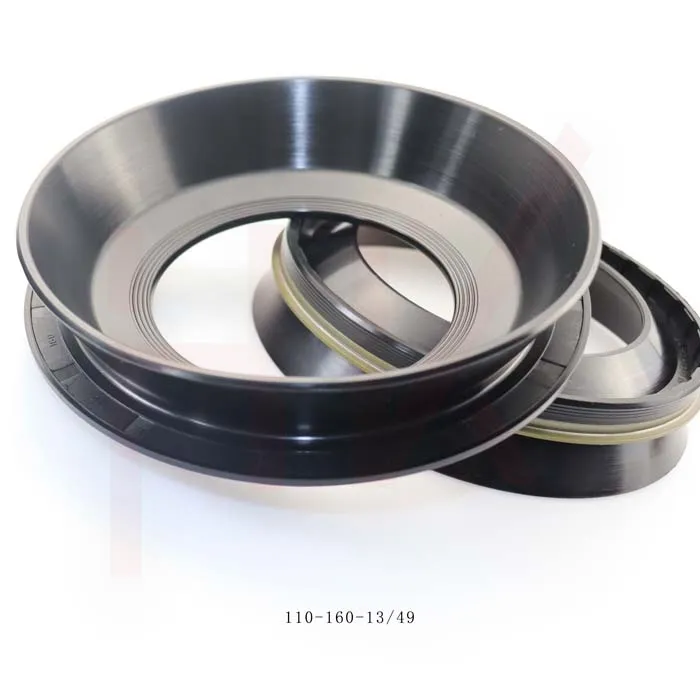
110*160*13/49 NBR reducerConcrete mixer truck oil seal
-
Hub oil seal 40*65*13/14.5 suitable for tractor Cat 12018035b
-
Cement tank truck bowl-shaped oil seal 135*175*11/38 K713 concrete mixer reducer oil seal
-
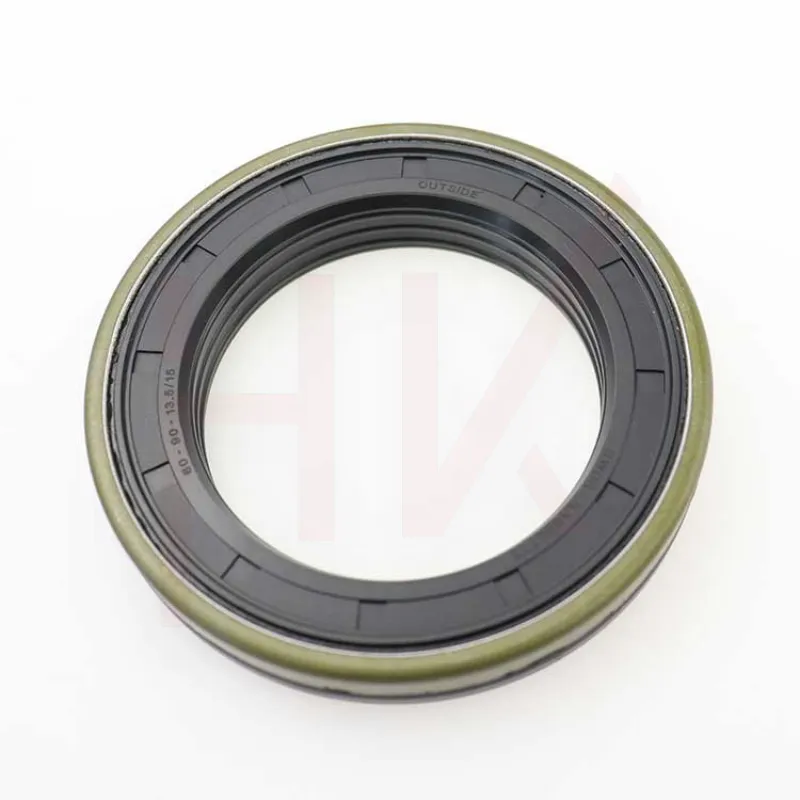
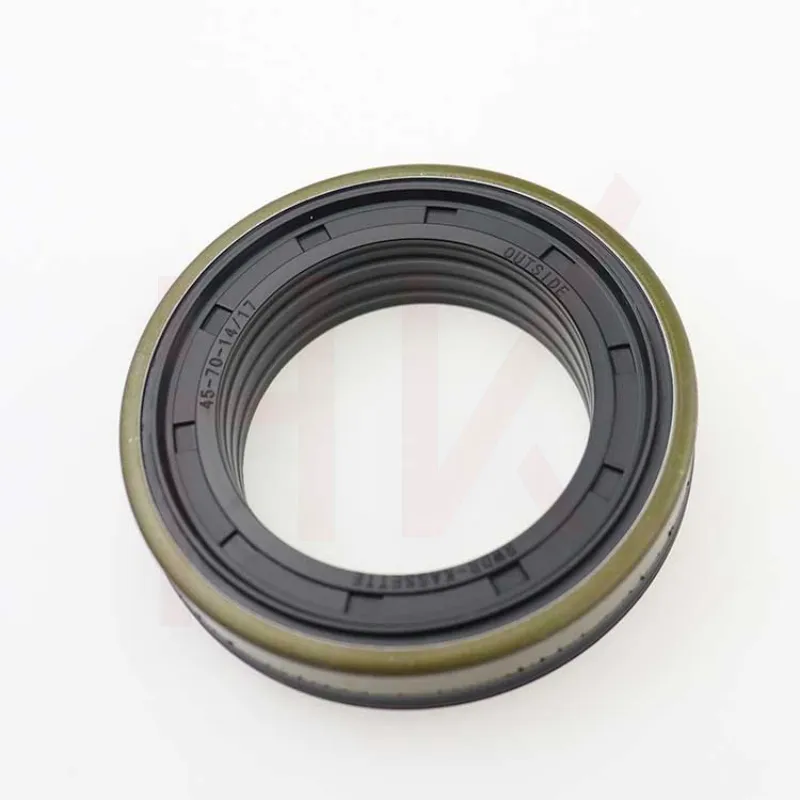
Tractor accessories cassette oil seal hub oil seal 60-90-13.5/15
-
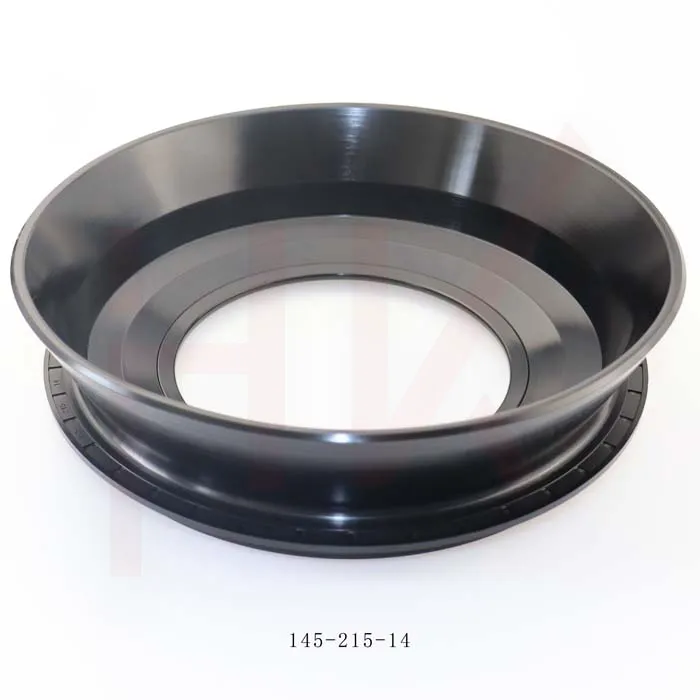
Factory concrete mixer truck oil seal 145*215*14 reducer gearbox oil seal
-

145*189*15.5/17 Cassette Seal NBR Hub Oil Seal 1508044
-

Factory direct sales hydraulic pump motor seal kit A8VO140
-
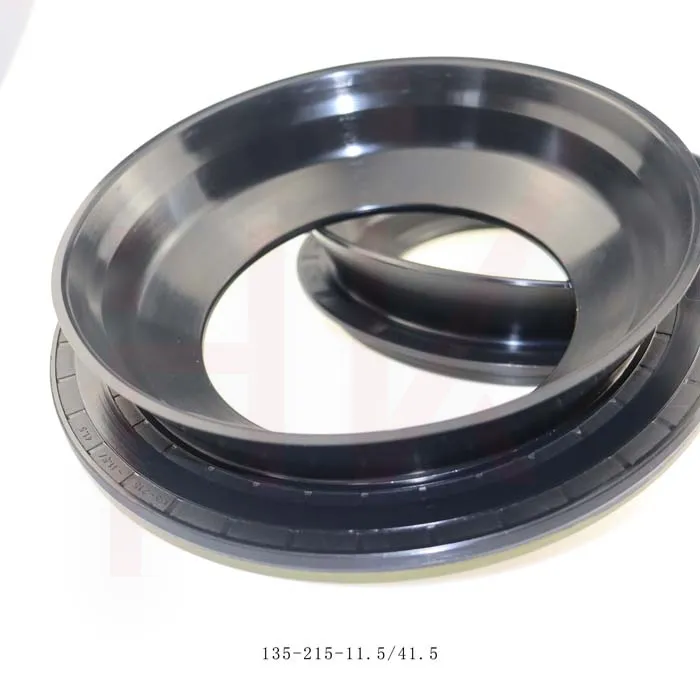
Brand new cement tanker oil seal 135*215*11.5/41.5 concrete mixer oil seal
-

Standard oil seal BP0494 High pressure TCN oil seal
-
45*65*15 Combi oil seal JCB 90450009 COMBI SF1 SEAL
-
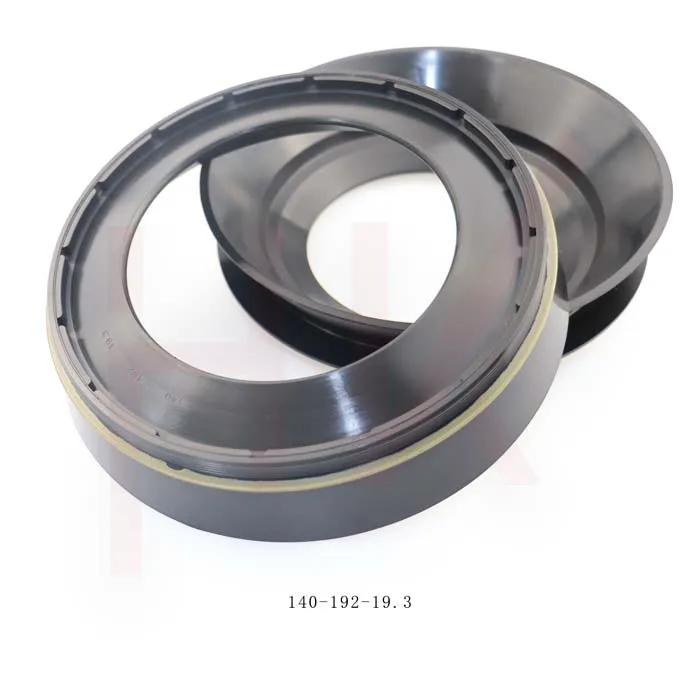
Gear box concrete mixer oil seal 140*192*19.3 nbr reducer oil seal
-
Hydraulic pump seal AP4624G high pressure TCN oil seal