
11 月 . 01, 2024 15:51 Back to list
Replacement of Pump Seal Kits for Optimal Performance and Maintenance Efficiency
Understanding Pump Seal Kit Replacement
The efficiency and longevity of a pump largely depend on its components, and among these, the seal kit plays a critical role. The seal kit is designed to prevent leaks and maintain the integrity of the pump system. Over time, wear and tear can lead to diminished performance, making seal kit replacement an essential procedure for maintenance. This article explores the importance of seal kits, signs that replacement is necessary, and the steps involved in the replacement process.
Importance of Seal Kits
Seal kits are vital components in various types of pumps, including centrifugal, diaphragm, and gear pumps. They ensure that fluids do not leak from the pump, maintaining pressure and preventing contamination. A well-functioning seal kit helps to minimize downtime and reduces the risk of damage to other pump components. Additionally, it plays a role in the safety of operations, particularly in processes dealing with hazardous or corrosive fluids.
Signs That Replacement is Necessary
Identifying when to replace a pump seal kit is crucial for maintaining pump efficiency. Common signs that indicate it's time for a replacement include
1. Visible Leaks One of the most obvious signs of a failing seal is the presence of fluid leakage around the pump. If you notice puddles or drips, it’s time to inspect the seal kit.
2. Decreased Performance If the pump is struggling to maintain pressure or experiencing reduced flow rates, a compromised seal kit could be the culprit.
3. Unusual Noises Grinding or whining sounds during operation can indicate that the internal components are not running smoothly, often resulting from a worn-out seal.
4. Frequent Maintenance If you find yourself frequently needing to adjust or repair the pump, it might be time to consider replacing the seal kit as part of an overall maintenance strategy.
Steps for Seal Kit Replacement
pump seal kit replacement

Replacing a pump seal kit involves several steps, which can vary depending on the type of pump. Here is a general guideline
2. Turn Off Power Safety first! Ensure that the pump is powered off and any fluid flow is stopped.
3. Disassemble the Pump Carefully remove the pump cover or housing to access the seal kit. Take note of how components are assembled to facilitate reassembly.
4. Remove the Old Seal Kit Take out the old seal components, being cautious not to damage other parts of the pump.
5. Clean the Area Before installing the new seal kit, clean the sealing surfaces to ensure a proper fit for the new components.
6. Install the New Seal Kit Follow the manufacturer’s instructions for installing the new seal kit, ensuring that all parts are correctly positioned.
7. Reassemble the Pump After the new seal is in place, carefully reassemble the pump, ensuring all bolts and screws are tightened to the recommended specifications.
8. Test the Pump Once reassembled, turn the pump back on and monitor it for any signs of leaks or performance issues.
Conclusion
Regularly replacing the pump seal kit is essential for optimal pump performance and longevity. By recognizing the signs of wear and following a systematic approach to replacement, you can ensure your pump operates efficiently, thereby saving on costs and reducing the risk of operational failures. Proper maintenance, including timely seal kit replacements, is key to maintaining a productive and safe work environment.
-
The Power of Advanced Sealing: High-Pressure Solutions for Modern Machinery
NewsOct.29,2024
-
Optimizing Machinery with High-Performance Oil Seals
NewsOct.29,2024
-
Maximizing Machinery Efficiency with Advanced Oil Seals
NewsOct.29,2024
-
Ensuring Equipment Longevity with Quality Oil Seals
NewsOct.29,2024
-
Enhance Equipment Performance with Quality Oil Seals
NewsOct.29,2024
-
Custom Oil Seals for Specialized Machinery Needs
NewsOct.29,2024
-
The Role of Wiper Seals in Dust Sealing and Oil Protection
NewsOct.20,2024
Products categories
-
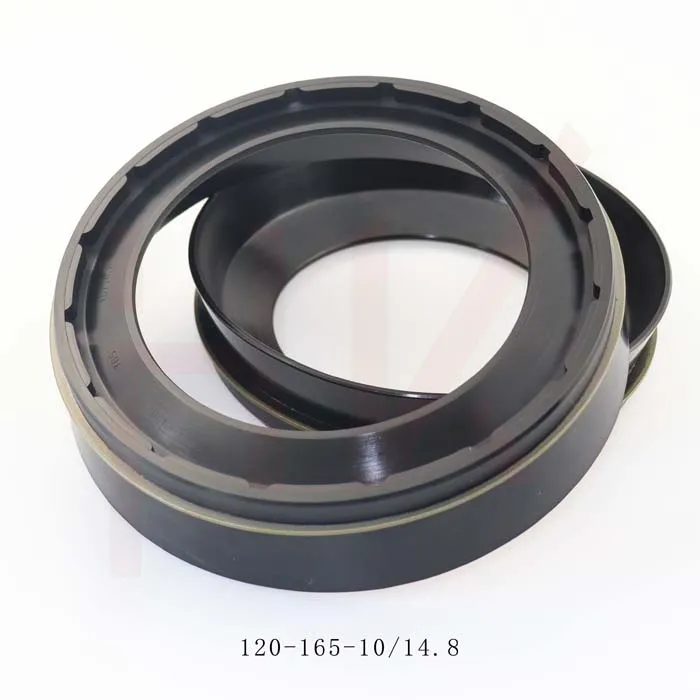
0734307418 0750112169 120*165*10/14.8 concrete mixer reducer oil seal
-
35*52*16 Standard Wheel Hub Oil Seal For Agricultural Machinery
-

123*165*14.8 concrete mixer truck reducer oil seal
-
Tractor shaft oil seal 65-90-20 COMBI SF19 hub oil seal
-
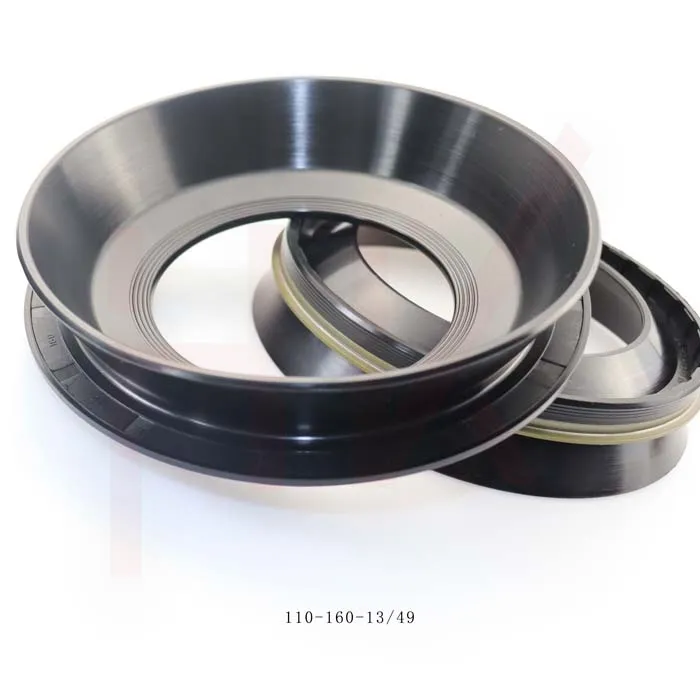
110*160*13/49 NBR reducerConcrete mixer truck oil seal
-
Hub oil seal 40*65*13/14.5 suitable for tractor Cat 12018035b
-
Cement tank truck bowl-shaped oil seal 135*175*11/38 K713 concrete mixer reducer oil seal
-
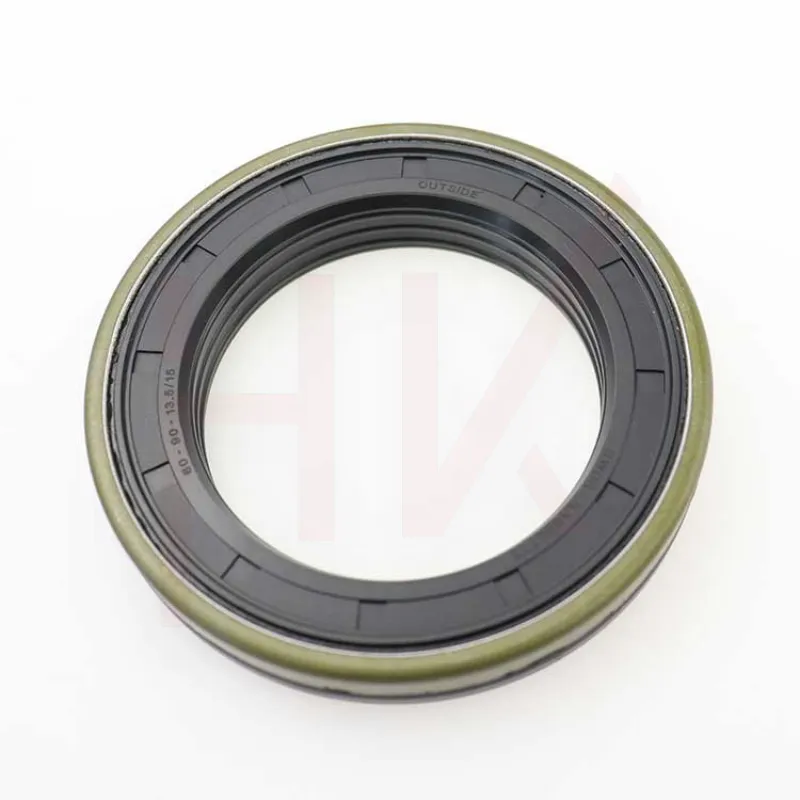
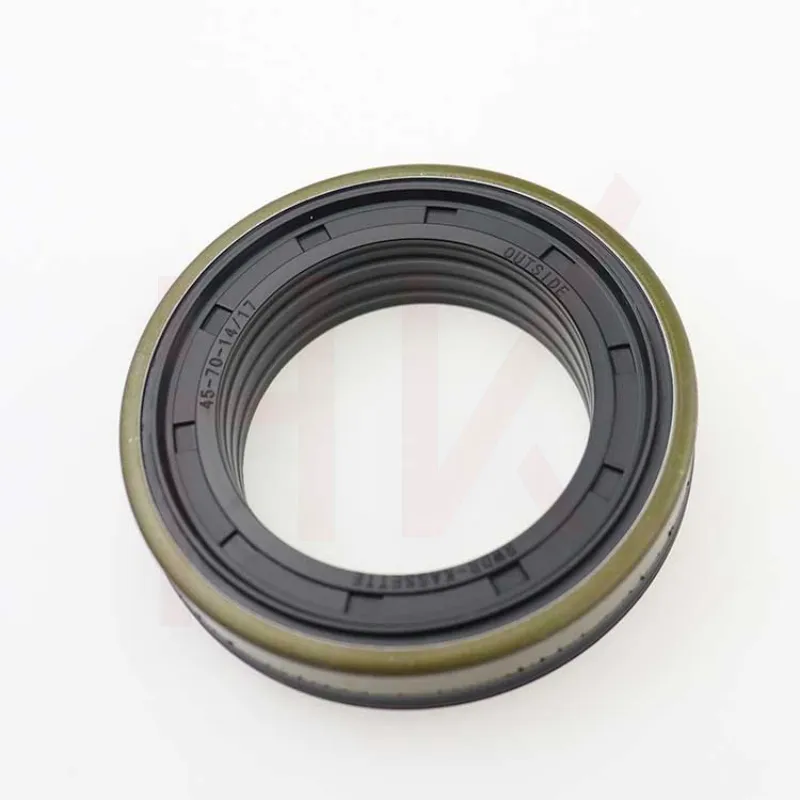
Tractor accessories cassette oil seal hub oil seal 60-90-13.5/15
-
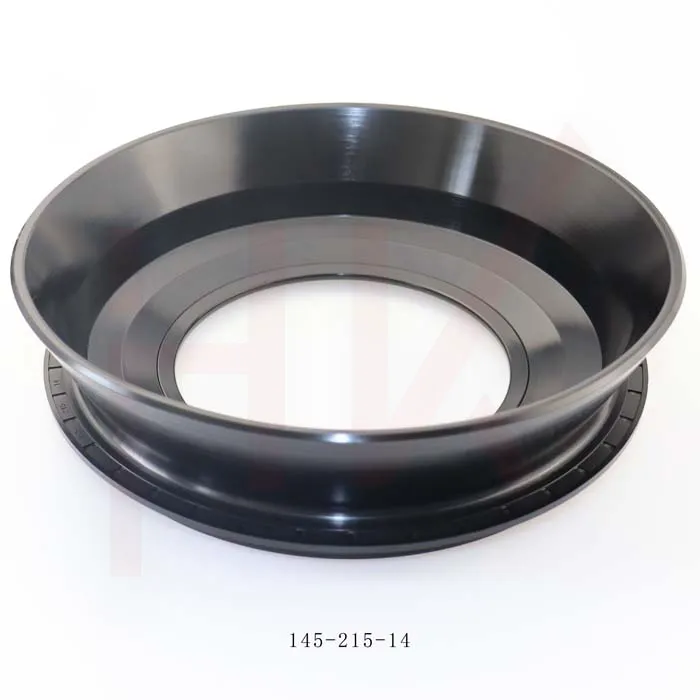
Factory concrete mixer truck oil seal 145*215*14 reducer gearbox oil seal
-
145*189*15.5/17 Cassette Seal NBR Hub Oil Seal 1508044
-

Factory direct sales hydraulic pump motor seal kit A8VO140
-
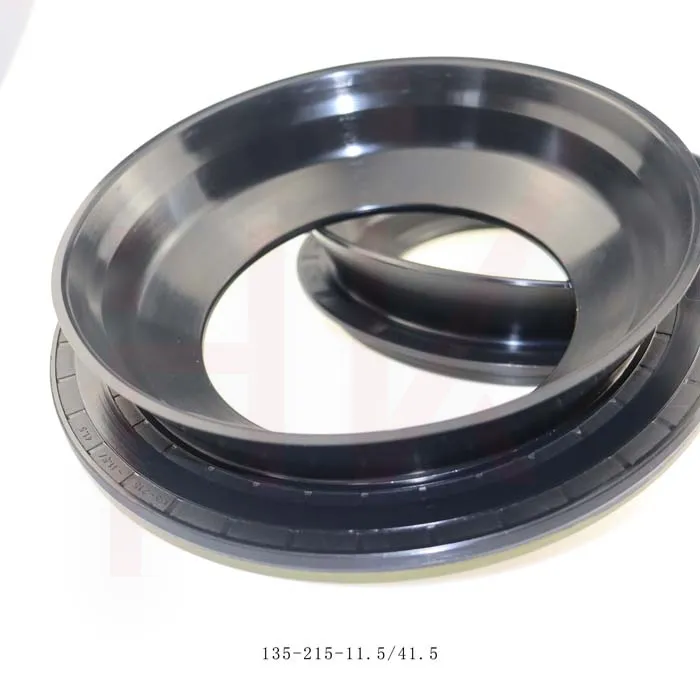
Brand new cement tanker oil seal 135*215*11.5/41.5 concrete mixer oil seal
-

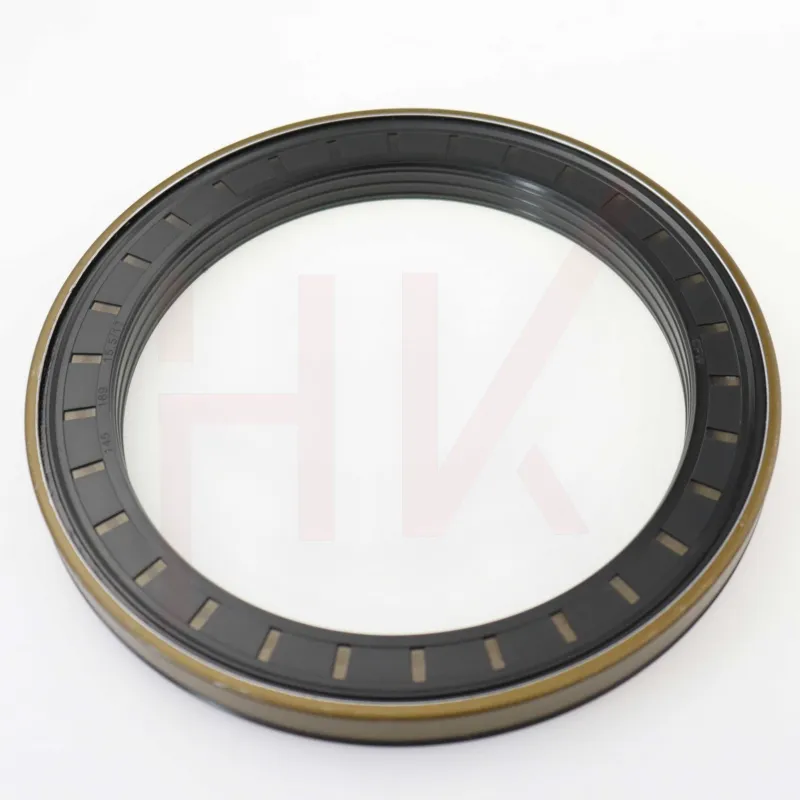
Standard oil seal BP0494 High pressure TCN oil seal
-
45*65*15 Combi oil seal JCB 90450009 COMBI SF1 SEAL
-
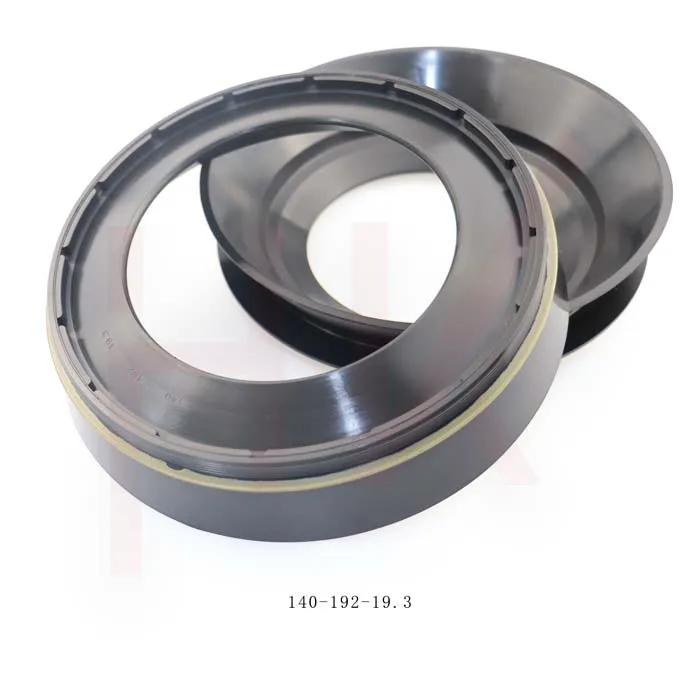
Gear box concrete mixer oil seal 140*192*19.3 nbr reducer oil seal
-
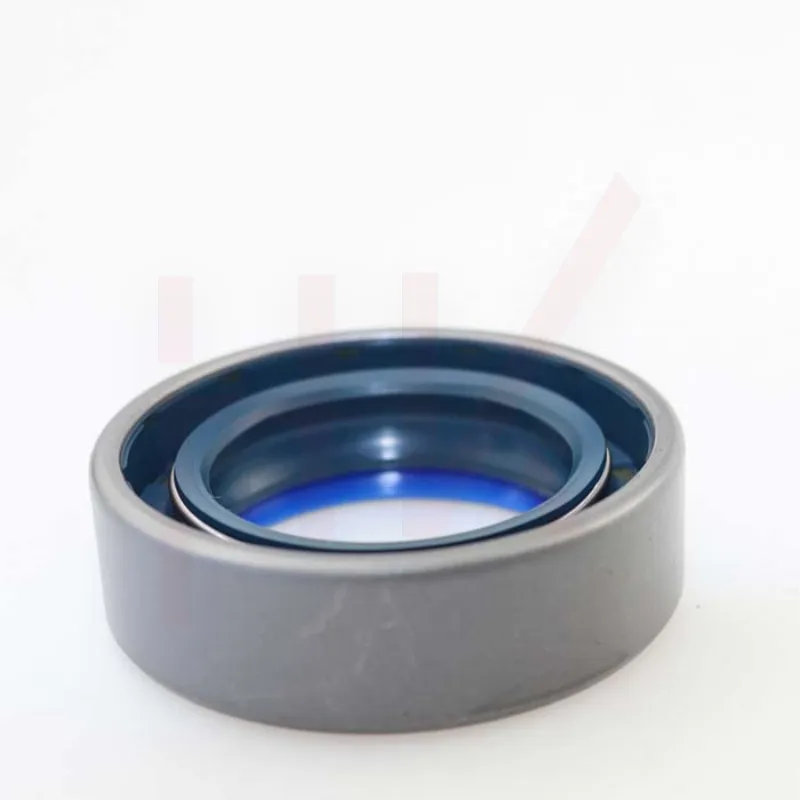
Hydraulic pump seal AP4624G high pressure TCN oil seal