
10 月 . 13, 2024 10:50 Back to list
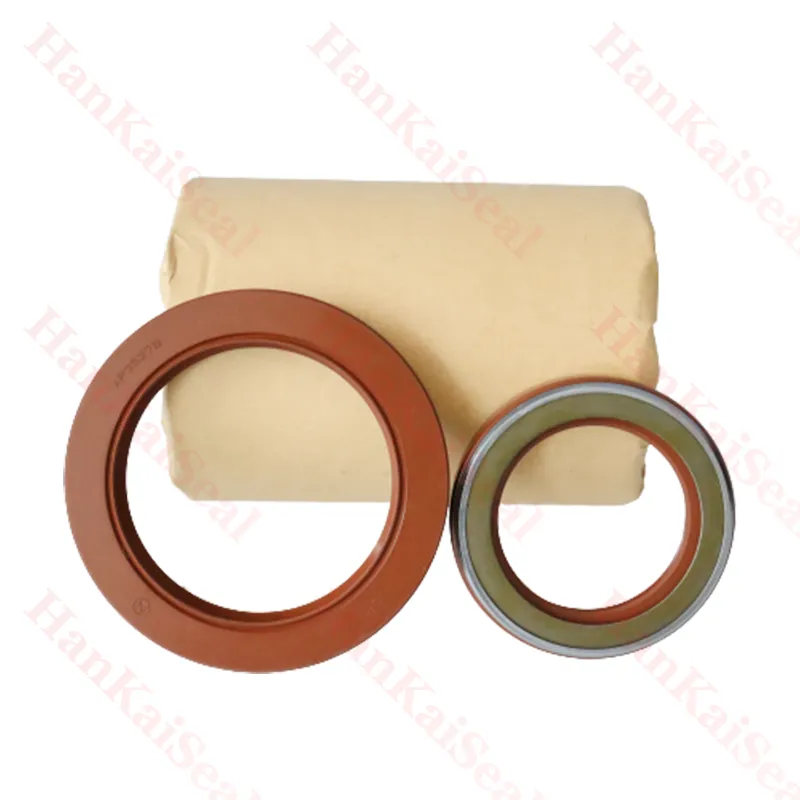
pump seal kit replacement
Replacing a Pump Seal Kit A Comprehensive Guide
Maintaining the efficiency of various machinery is crucial in ensuring longevity and optimal performance, especially when it comes to pumps. One often-overlooked component is the pump seal kit. A worn or damaged seal can lead to leaks, reduced performance, and costly downtime. Understanding how to replace a pump seal kit is essential for anyone looking to keep their pump in top condition.
Why Replace a Pump Seal Kit?
Over time, seals can degrade due to wear and tear, exposure to harsh chemicals, or extreme temperatures. This degradation can result in fluid leaks, which not only waste resources but can also pose safety hazards. Regular inspection of the pump’s seal is essential to identify any signs of wear, such as discoloration or cracking. Replacing the seal kit can restore the pump’s functionality and prevent more significant issues down the line.
Tools and Materials Needed
Before starting the replacement process, gather the necessary tools and materials. Typical items include
- A new pump seal kit (ensure it’s compatible with your pump model) - Screwdrivers (both flathead and Phillips) - Wrenches - A seal puller or scraper - Clean rags - Lubricant (if required by the manufacturer)
Having all the necessary tools on hand will make the replacement process more efficient.
Step-by-Step Replacement Process
1. Turn Off the Power Safety is paramount. Before doing any work on the pump, ensure that it is turned off and unplugged from its power source.
pump seal kit replacement

2. Remove the Pump from Service Carefully detach the pump from the piping and any connections. Make sure to catch any spilled fluids in a container to prevent environmental damage.
3. Disassemble the Pump Remove the outer casing and other components to access the old seal. Depending on the pump design, you may need to unscrew various parts.
4. Remove the Old Seal Using a seal puller or a scraper, gently remove the old seal. Take care not to damage the sealing surfaces of the pump.
5. Clean the Area Thoroughly clean the sealing surfaces to remove any debris or remnants of the old seal. This step is crucial for ensuring a proper seal with the new kit.
6. Install the New Seal Place the new seal in position, ensuring it fits snugly. Use a lubricant if recommended by the manufacturer to facilitate installation and improve longevity.
7. Reassemble the Pump Carefully reattach all components in reverse order of disassembly. Ensure all screws and connections are secure.
8. Test the Pump Once everything is reassembled, reconnect the pump and turn it back on. Monitor for any leaks or irregular sounds, indicating a potential issue.
Conclusion
Replacing a pump seal kit may seem daunting, but with the right tools and a systematic approach, it can be a straightforward task. Regular maintenance, including seal replacement, is vital for the efficiency and reliability of pumps, ultimately saving you time and money in the long run. By following these steps, you can ensure your pump operates smoothly and efficiently for years to come.
-
The Power of Advanced Sealing: High-Pressure Solutions for Modern Machinery
NewsOct.29,2024
-
Optimizing Machinery with High-Performance Oil Seals
NewsOct.29,2024
-
Maximizing Machinery Efficiency with Advanced Oil Seals
NewsOct.29,2024
-
Ensuring Equipment Longevity with Quality Oil Seals
NewsOct.29,2024
-
Enhance Equipment Performance with Quality Oil Seals
NewsOct.29,2024
-
Custom Oil Seals for Specialized Machinery Needs
NewsOct.29,2024
-
The Role of Wiper Seals in Dust Sealing and Oil Protection
NewsOct.20,2024
Products categories
-
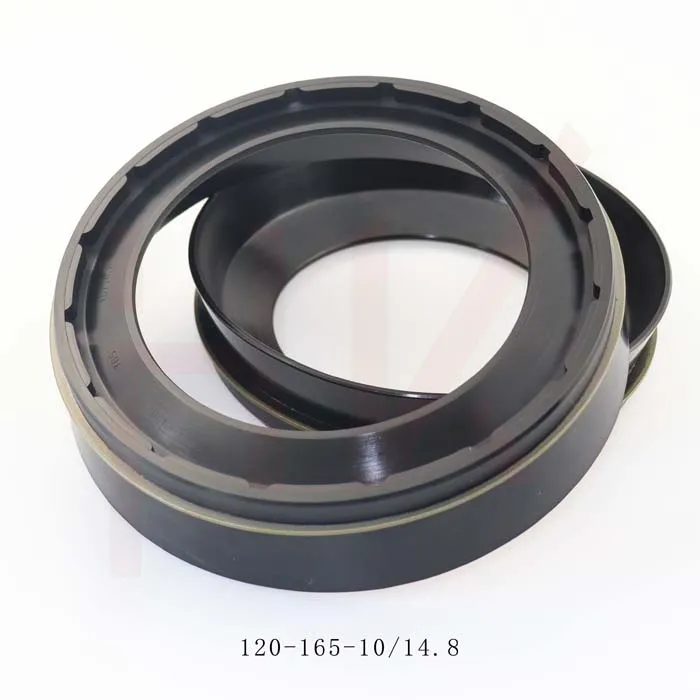
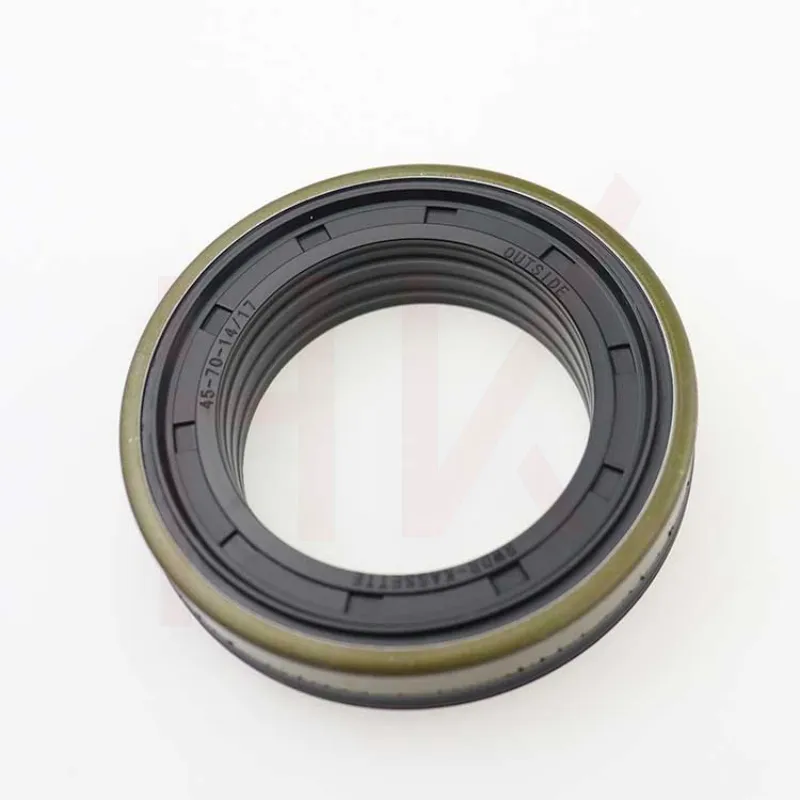
0734307418 0750112169 120*165*10/14.8 concrete mixer reducer oil seal
-
35*52*16 Standard Wheel Hub Oil Seal For Agricultural Machinery
-

123*165*14.8 concrete mixer truck reducer oil seal
-
Tractor shaft oil seal 65-90-20 COMBI SF19 hub oil seal
-
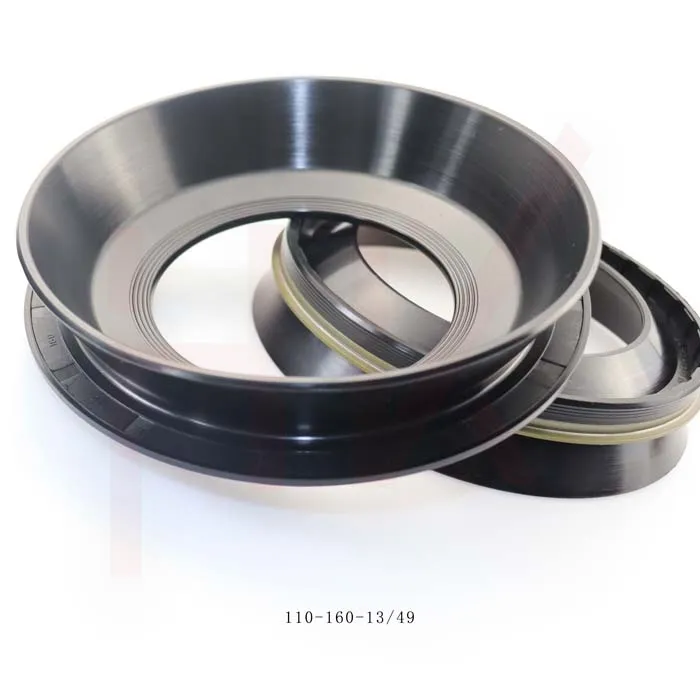
110*160*13/49 NBR reducerConcrete mixer truck oil seal
-
Hub oil seal 40*65*13/14.5 suitable for tractor Cat 12018035b
-
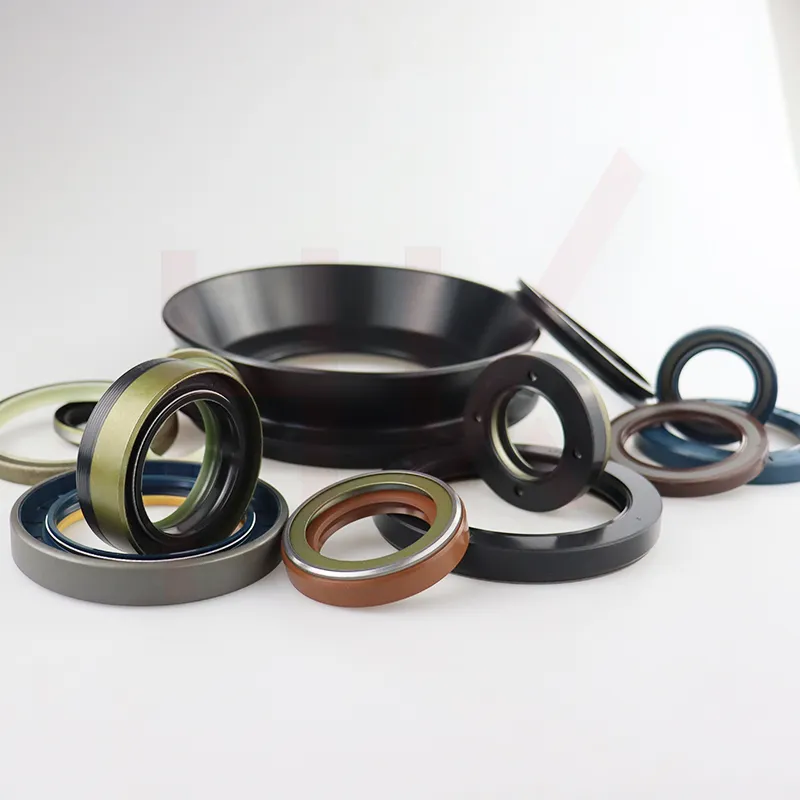
Cement tank truck bowl-shaped oil seal 135*175*11/38 K713 concrete mixer reducer oil seal
-
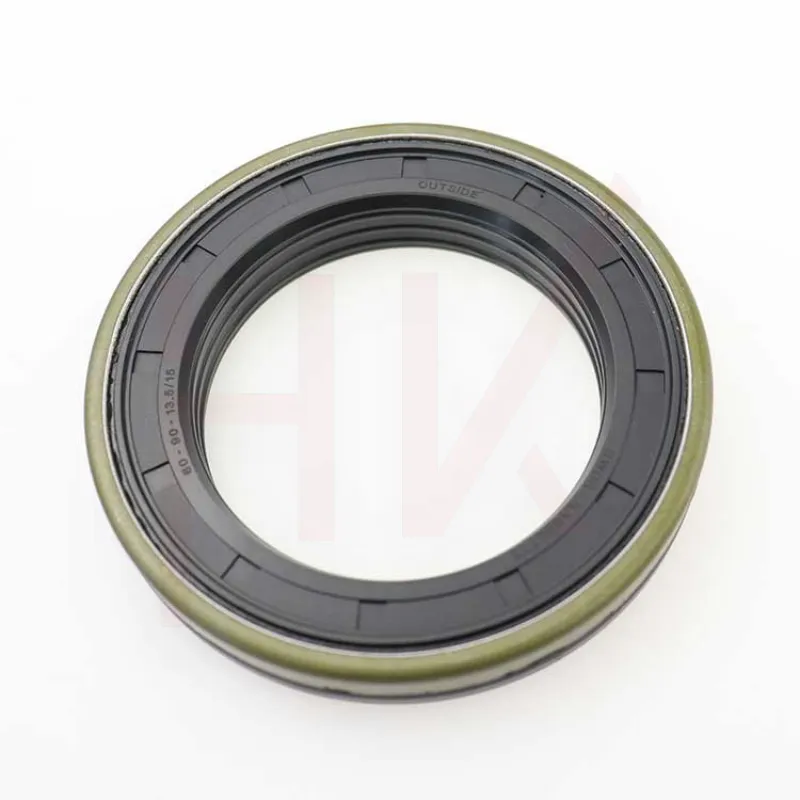
Tractor accessories cassette oil seal hub oil seal 60-90-13.5/15
-
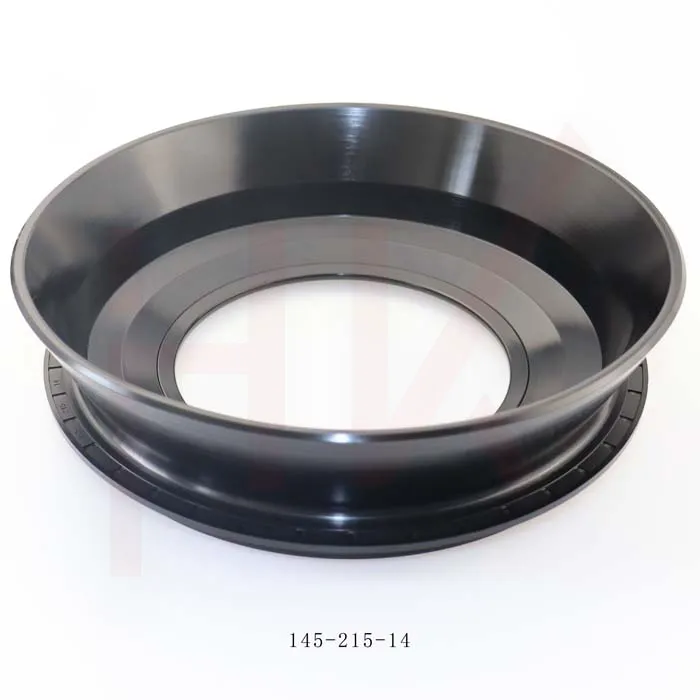
Factory concrete mixer truck oil seal 145*215*14 reducer gearbox oil seal
-
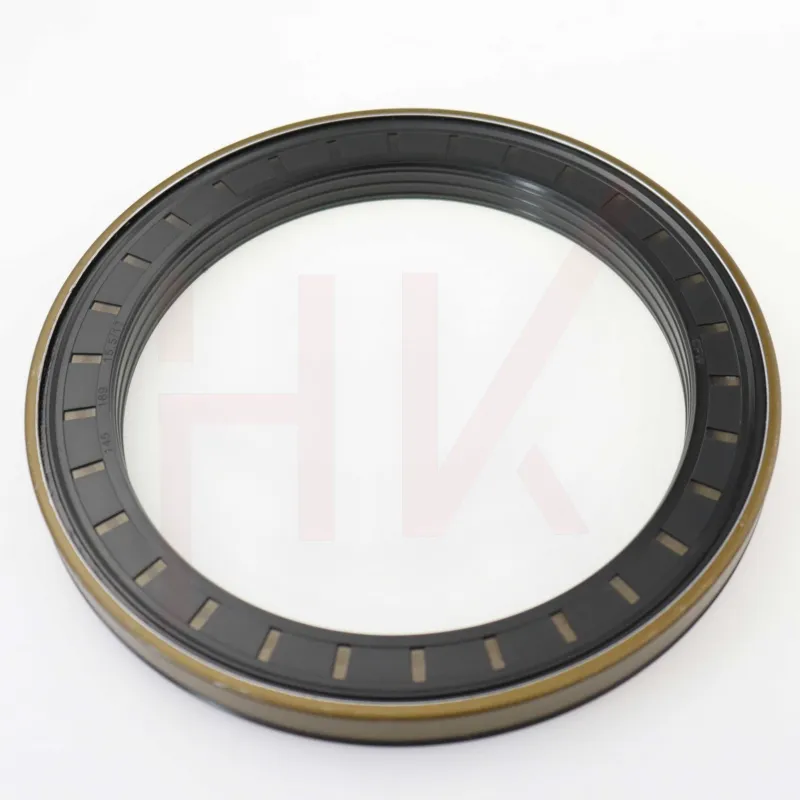
145*189*15.5/17 Cassette Seal NBR Hub Oil Seal 1508044
-

Factory direct sales hydraulic pump motor seal kit A8VO140
-
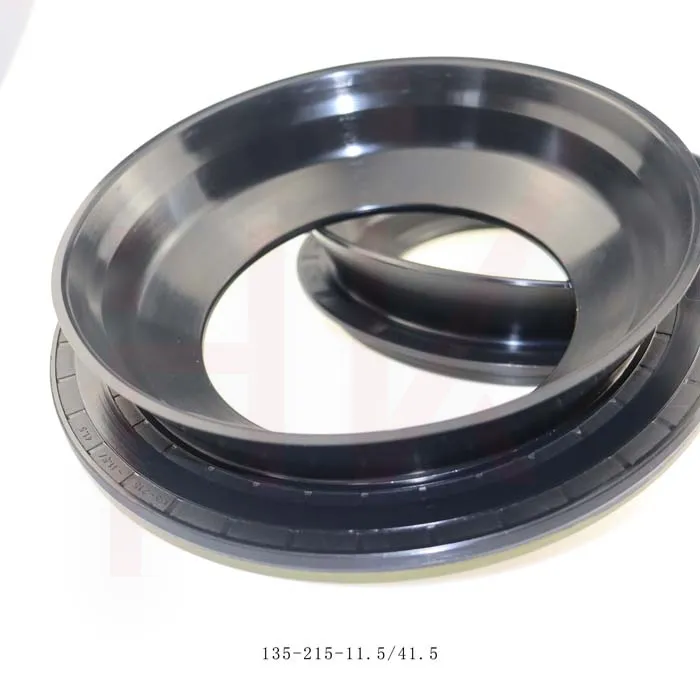
Brand new cement tanker oil seal 135*215*11.5/41.5 concrete mixer oil seal
-

Standard oil seal BP0494 High pressure TCN oil seal
-
45*65*15 Combi oil seal JCB 90450009 COMBI SF1 SEAL
-
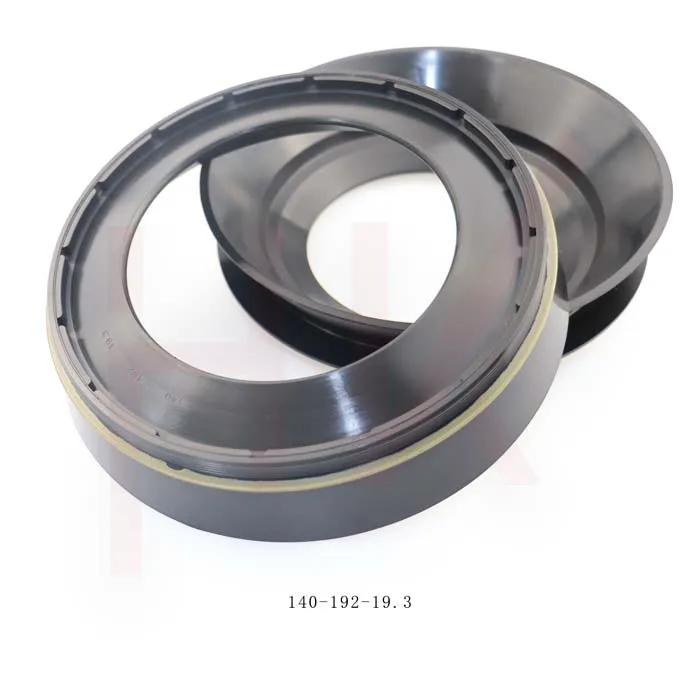
Gear box concrete mixer oil seal 140*192*19.3 nbr reducer oil seal
-
Hydraulic pump seal AP4624G high pressure TCN oil seal