
9 月 . 12, 2024 15:19 Back to list
Pump Seal Kit Replacement
Pump Seal Kit Replacement A Comprehensive Guide
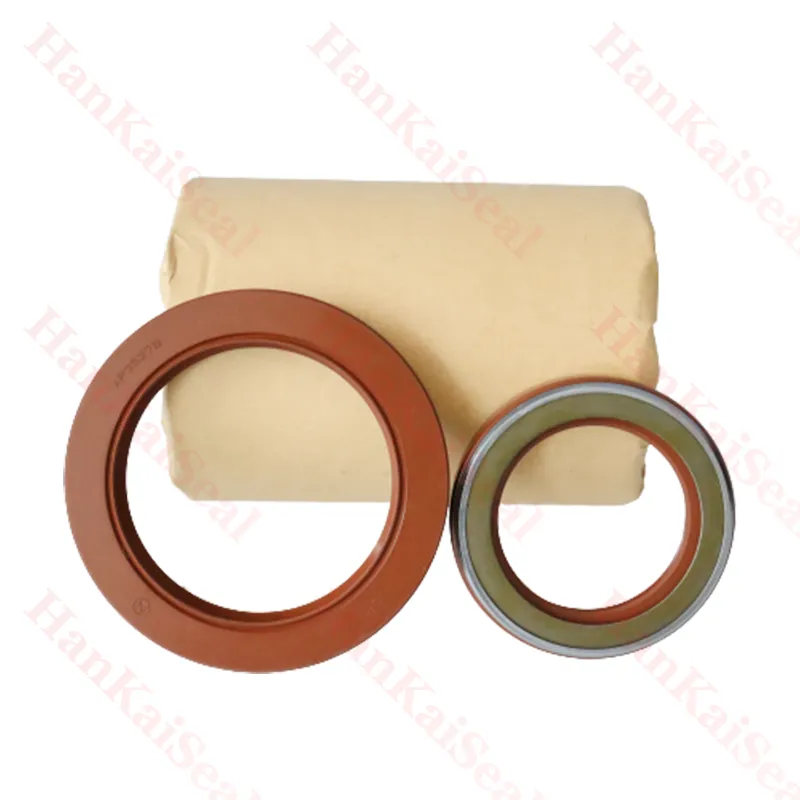
When it comes to maintaining the efficiency and longevity of your pump, one crucial component that often demands attention is the seal kit. The pump seal kit is responsible for preventing leaks and ensuring that the pump operates smoothly. Over time, seals can wear out due to factors such as pressure fluctuations, temperature variations, and corrosive fluids. This article will guide you through the process of replacing a pump seal kit effectively.
Understanding the Importance of Seal Kits
The primary role of a pump seal kit is to create a barrier that prevents the leakage of fluids. Leaky pumps can lead to environmental issues, safety hazards, and significant operational costs. A well-functioning seal kit not only protects your pump from damage but also maintains the efficiency of fluid transfer processes. Regular maintenance and timely replacement of seal kits are essential in avoiding unexpected downtime.
When to Replace Your Seal Kit
Signs that indicate it’s time to replace your pump seal kit include visible leaks around the pump, unusual noises during operation, and decreased performance. If you find any of these symptoms, it is advisable to inspect the seal kit and consider a replacement to restore your pump's functionality.
Steps for Replacement
1. Safety First Before beginning the replacement, ensure the pump is turned off and disconnected from any power source. Wear appropriate safety gear, including gloves and goggles.
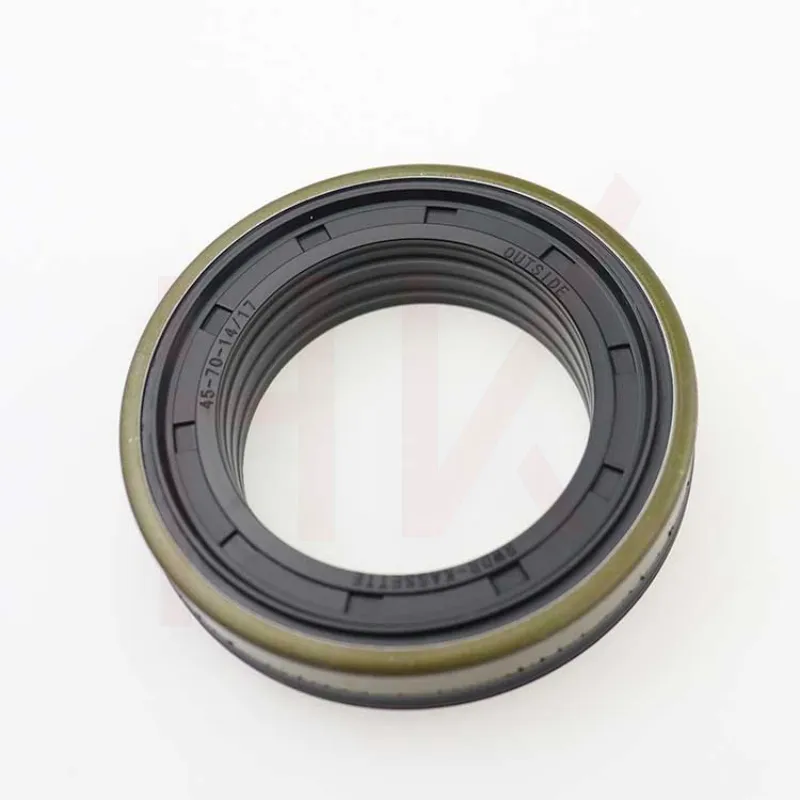
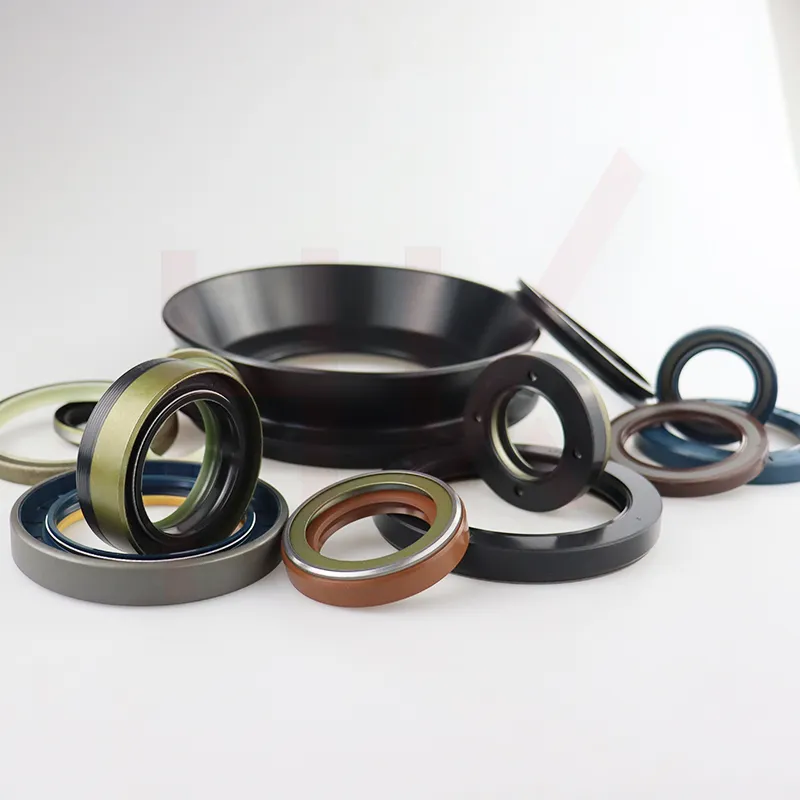
pump seal kit replacement

2. Disassemble the Pump Carefully remove the pump from its mounting. Take note of how the parts are assembled or refer to the manufacturer's manual for guidance.
3. Remove the Old Seal Kit Gently extract the old seal kit from the pump housing. Take care to avoid damaging any other components in the process.
4. Clean the Surface Once the old seals are removed, clean the sealing surfaces thoroughly. Any debris or residue could lead to improper sealing when the new kit is installed.
5. Install the New Seal Kit Begin installing the new seals by following the manufacturer's instructions. Ensure they are seated properly to prevent leaks.
6. Reassemble the Pump Once the new seal kit is in place, reassemble the pump carefully, ensuring all components are secured and aligned correctly.
7. Testing After reassembly, reconnect the pump to the power source and perform a test run to check for any leaks or abnormalities in operation.
Conclusion
Replacing a pump seal kit is an essential maintenance task that can significantly extend the life of your pump while improving its efficiency. With proper knowledge and careful execution, you can tackle this task with confidence, ensuring optimal performance for your fluid handling systems. Regular maintenance and timely seal replacements can prevent costly repairs and extend the lifespan of your pump, making it a win-win for any operation.
-
The Power of Advanced Sealing: High-Pressure Solutions for Modern Machinery
NewsOct.29,2024
-
Optimizing Machinery with High-Performance Oil Seals
NewsOct.29,2024
-
Maximizing Machinery Efficiency with Advanced Oil Seals
NewsOct.29,2024
-
Ensuring Equipment Longevity with Quality Oil Seals
NewsOct.29,2024
-
Enhance Equipment Performance with Quality Oil Seals
NewsOct.29,2024
-
Custom Oil Seals for Specialized Machinery Needs
NewsOct.29,2024
-
The Role of Wiper Seals in Dust Sealing and Oil Protection
NewsOct.20,2024
Products categories
-
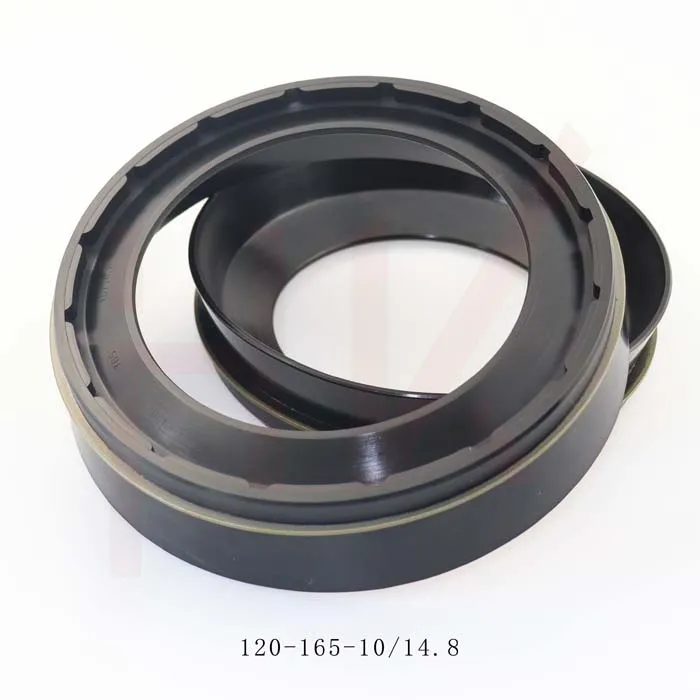
0734307418 0750112169 120*165*10/14.8 concrete mixer reducer oil seal
-
35*52*16 Standard Wheel Hub Oil Seal For Agricultural Machinery
-

123*165*14.8 concrete mixer truck reducer oil seal
-
Tractor shaft oil seal 65-90-20 COMBI SF19 hub oil seal
-
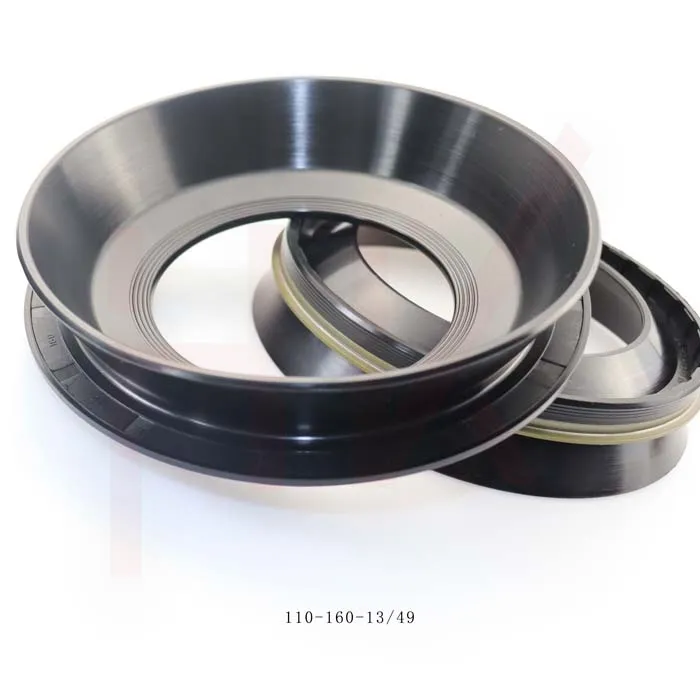
110*160*13/49 NBR reducerConcrete mixer truck oil seal
-
Hub oil seal 40*65*13/14.5 suitable for tractor Cat 12018035b
-
Cement tank truck bowl-shaped oil seal 135*175*11/38 K713 concrete mixer reducer oil seal
-
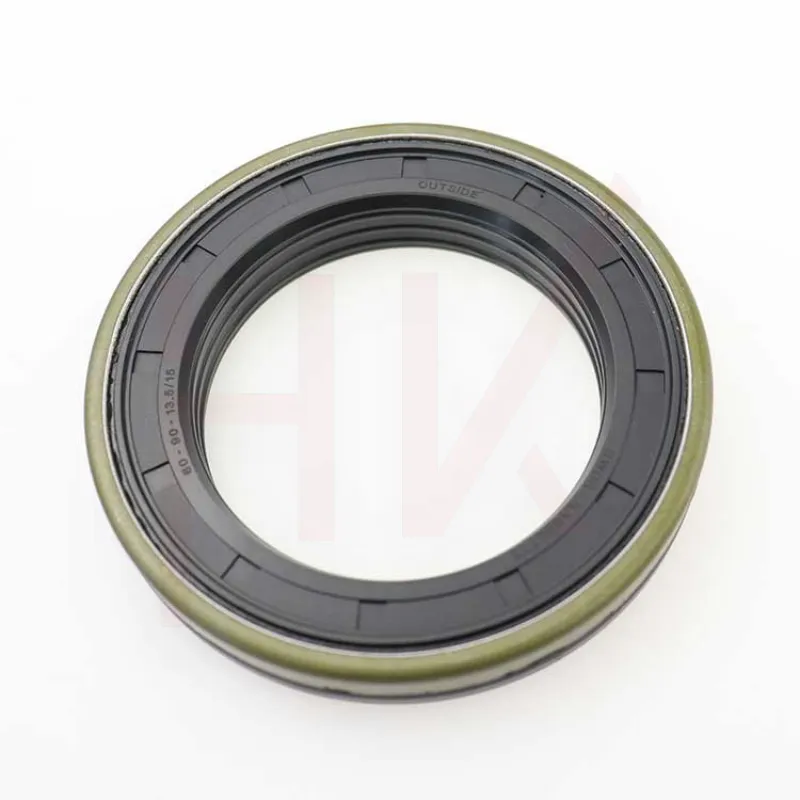
Tractor accessories cassette oil seal hub oil seal 60-90-13.5/15
-
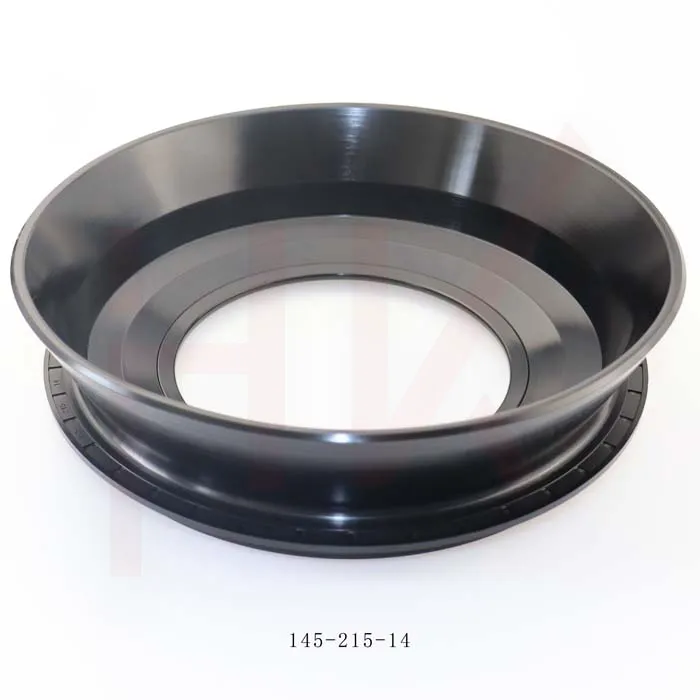
Factory concrete mixer truck oil seal 145*215*14 reducer gearbox oil seal
-
145*189*15.5/17 Cassette Seal NBR Hub Oil Seal 1508044
-

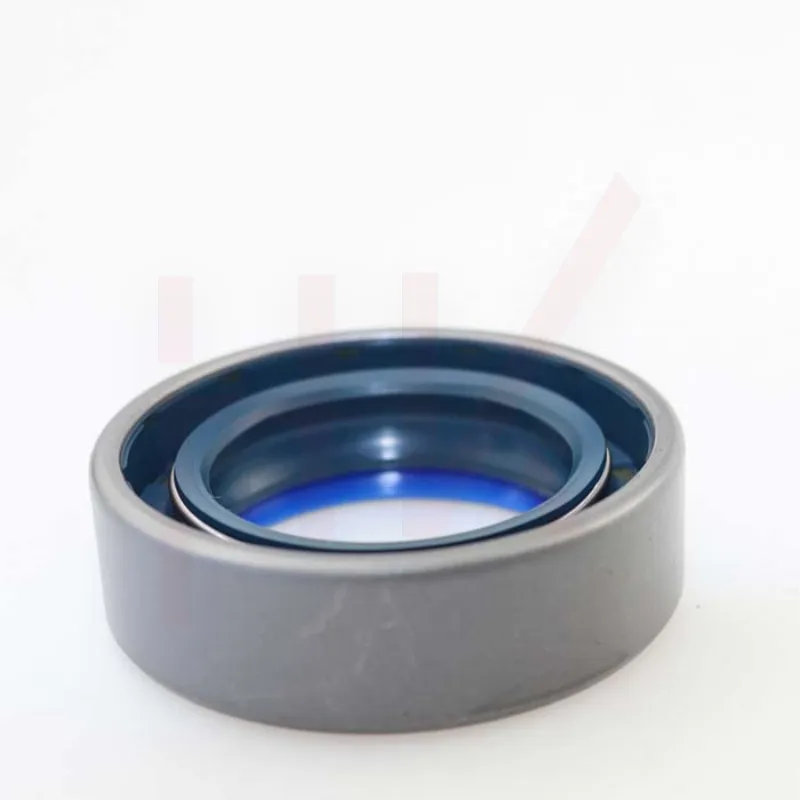
Factory direct sales hydraulic pump motor seal kit A8VO140
-
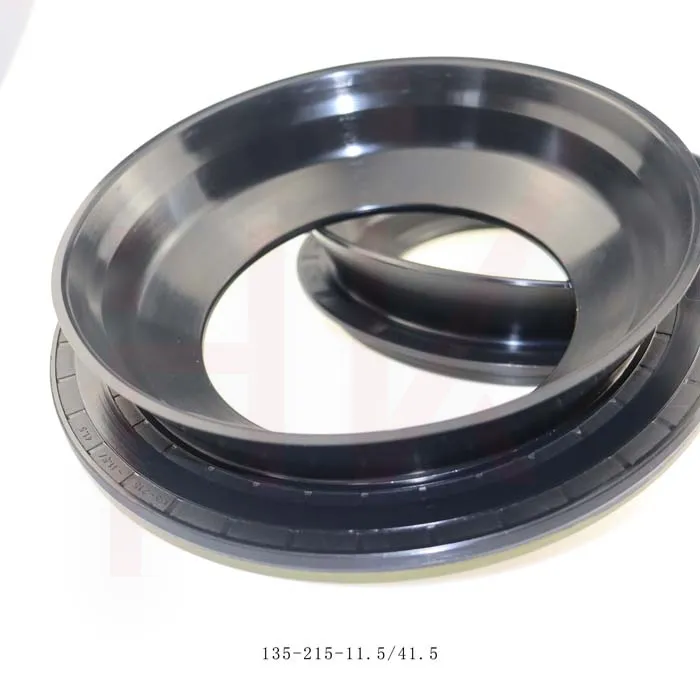
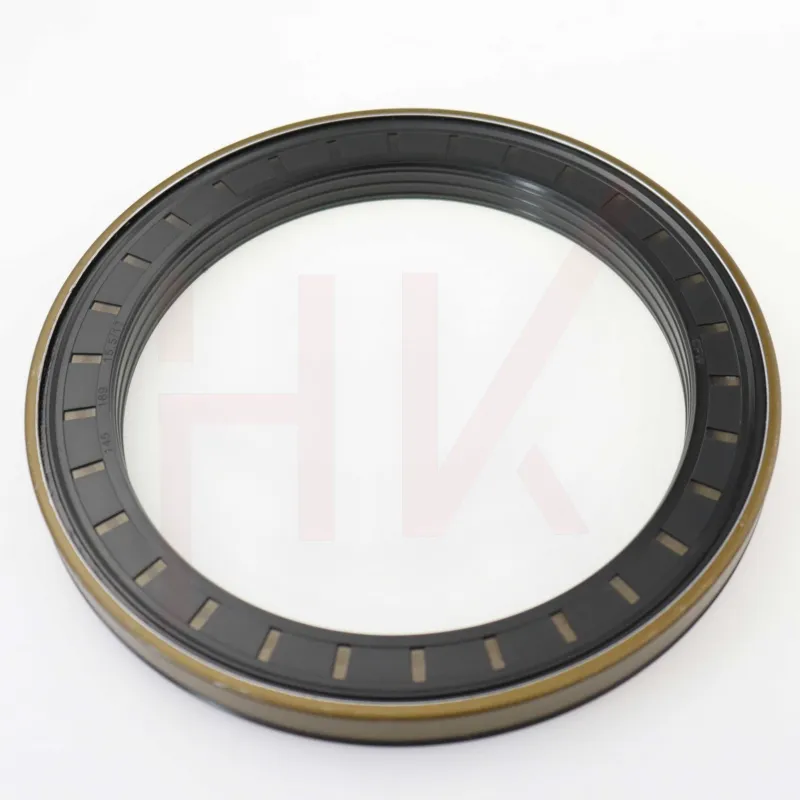
Brand new cement tanker oil seal 135*215*11.5/41.5 concrete mixer oil seal
-

Standard oil seal BP0494 High pressure TCN oil seal
-
45*65*15 Combi oil seal JCB 90450009 COMBI SF1 SEAL
-
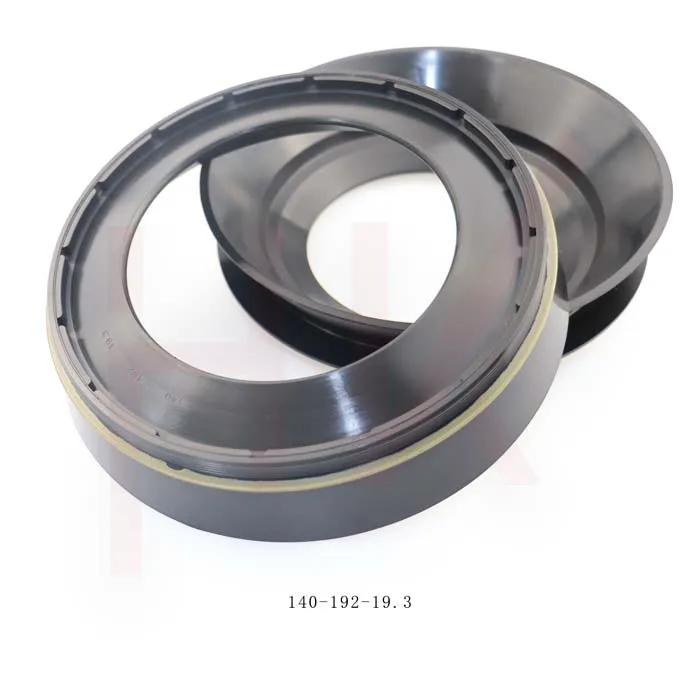
Gear box concrete mixer oil seal 140*192*19.3 nbr reducer oil seal
-
Hydraulic pump seal AP4624G high pressure TCN oil seal