
10 月 . 04, 2024 05:03 Back to list
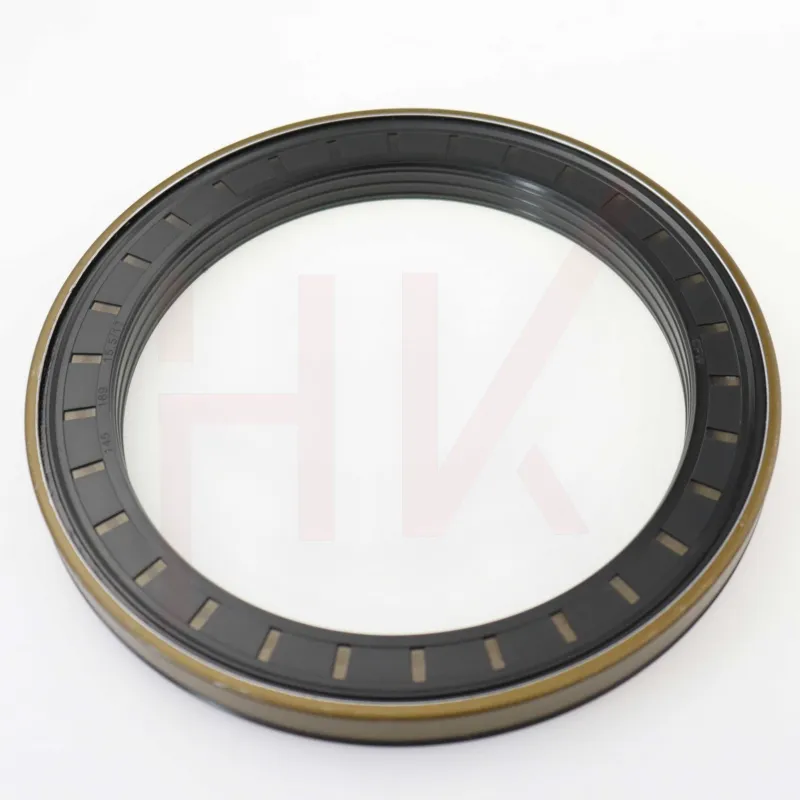
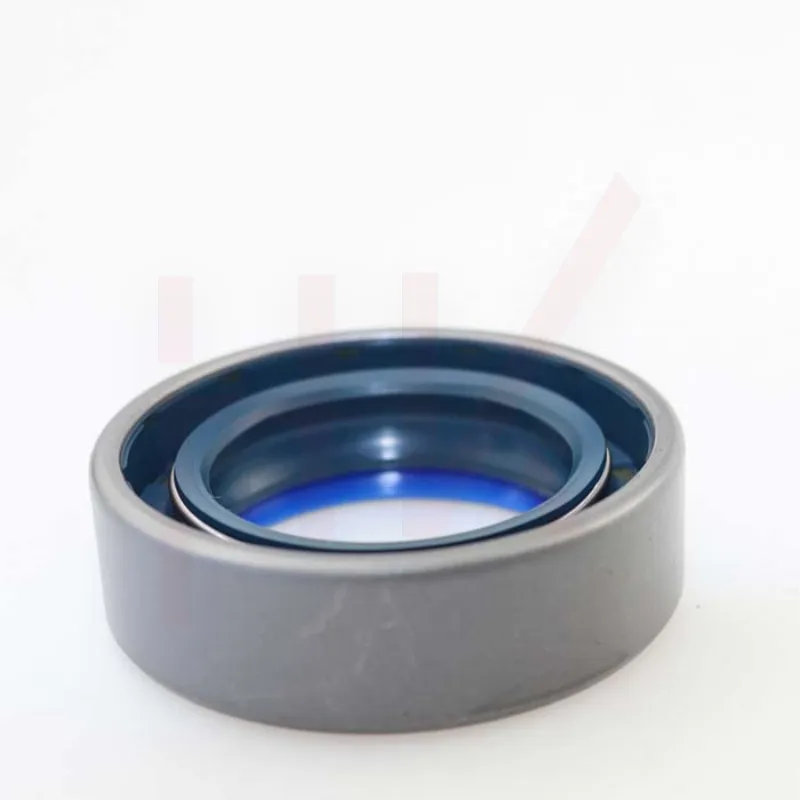
hydraulic seal repair
Hydraulic Seal Repair A Comprehensive Guide
Hydraulic systems are vital in various industries, powering everything from construction machinery to manufacturing equipment. Key components of these systems include hydraulic seals, which play a critical role in preventing fluid leaks and maintaining pressure. Over time, these seals may wear out or become damaged, leading to inefficiencies and costly downtime. Understanding how to repair hydraulic seals is crucial for maintaining the overall functionality and longevity of hydraulic systems.
Identifying Seal Damage
The first step in hydraulic seal repair is identifying the type and extent of the damage. Common signs that a seal needs repair include visible leaks, decreased system performance, and increased noise or vibration from the machinery. A thorough inspection can reveal issues such as abrasions, cuts, or signs of wear. It’s important to address these issues promptly, as ignoring them can lead to more severe damage and expensive repairs.
Choosing the Right Seal Replacement
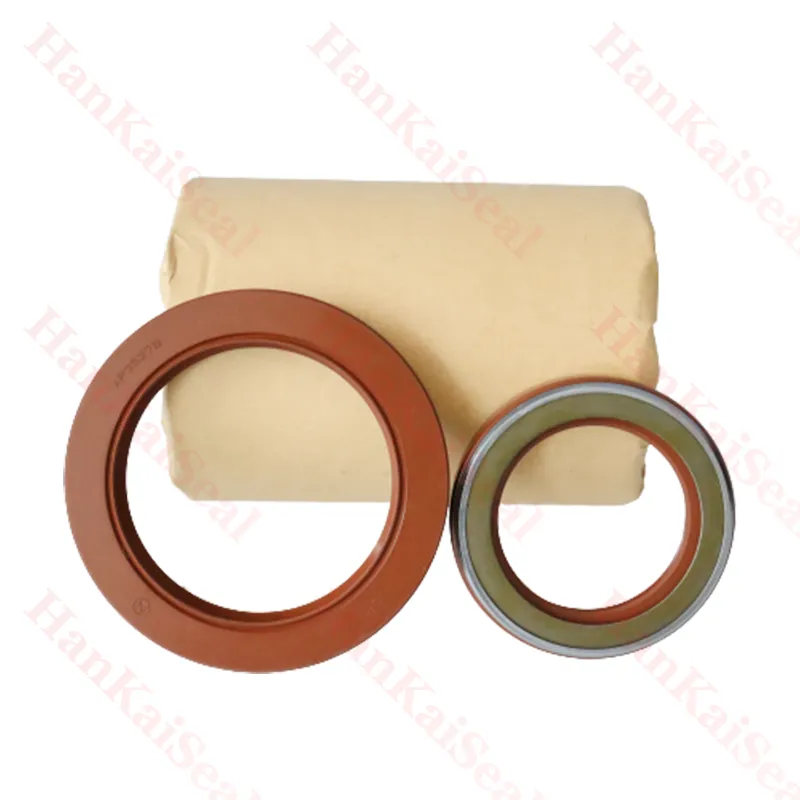
Once damage has been confirmed, the next step is to select the appropriate replacement seal. Hydraulic seals come in various materials, shapes, and sizes, tailored to specific applications. Factors to consider include the type of hydraulic fluid, temperature ranges, and pressure levels. Using the correct seal material—like nitrile rubber, urethane, or PTFE—can significantly affect the seal's performance and lifespan.
Repair Process
Repairing hydraulic seals typically involves several steps
hydraulic seal repair

1. Disassembly Begin by safely disassembling the hydraulic component housing the damaged seal. Ensure that the system is depressurized and drained of fluid to avoid spills and accidents.
2. Removal of the Old Seal Carefully remove the old seal using appropriate tools. Be cautious to avoid damaging the housing or other surrounding components during this process.
3. Cleaning the Area Thoroughly clean the sealing surface and surrounding areas to remove any debris, old seal material, or contaminants. A clean surface is critical for ensuring the new seal fits properly and seals effectively.
4. Installation of the New Seal Insert the new seal, ensuring it is positioned correctly and fits snugly in the designated groove. Follow manufacturer guidelines for installation to avoid future leaks.
5. Reassembly and Testing Reassemble the hydraulic component, and carefully refill the hydraulic fluid. Once reassembled, test the system for leaks and proper operation under normal conditions.
Conclusion
Hydraulic seal repair is an essential maintenance task that can save time and money in the long run. Understanding the process and having the right tools and materials at hand can make repairs straightforward and effective. Regular inspections and timely repairs not only extend the life of hydraulic seals but also enhance the overall performance of hydraulic systems, helping industries maintain productivity and reduce operational costs.
-
The Power of Advanced Sealing: High-Pressure Solutions for Modern Machinery
NewsOct.29,2024
-
Optimizing Machinery with High-Performance Oil Seals
NewsOct.29,2024
-
Maximizing Machinery Efficiency with Advanced Oil Seals
NewsOct.29,2024
-
Ensuring Equipment Longevity with Quality Oil Seals
NewsOct.29,2024
-
Enhance Equipment Performance with Quality Oil Seals
NewsOct.29,2024
-
Custom Oil Seals for Specialized Machinery Needs
NewsOct.29,2024
-
The Role of Wiper Seals in Dust Sealing and Oil Protection
NewsOct.20,2024
Products categories
-
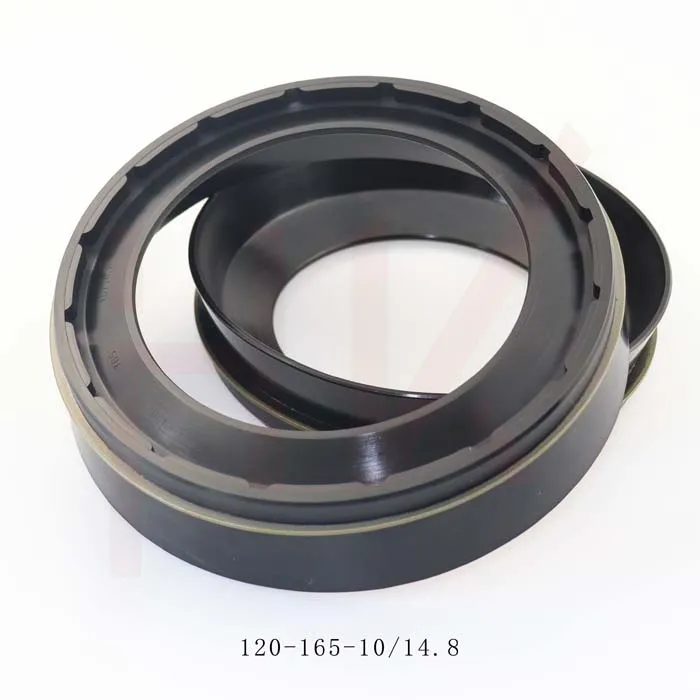
0734307418 0750112169 120*165*10/14.8 concrete mixer reducer oil seal
-
35*52*16 Standard Wheel Hub Oil Seal For Agricultural Machinery
-

123*165*14.8 concrete mixer truck reducer oil seal
-
Tractor shaft oil seal 65-90-20 COMBI SF19 hub oil seal
-
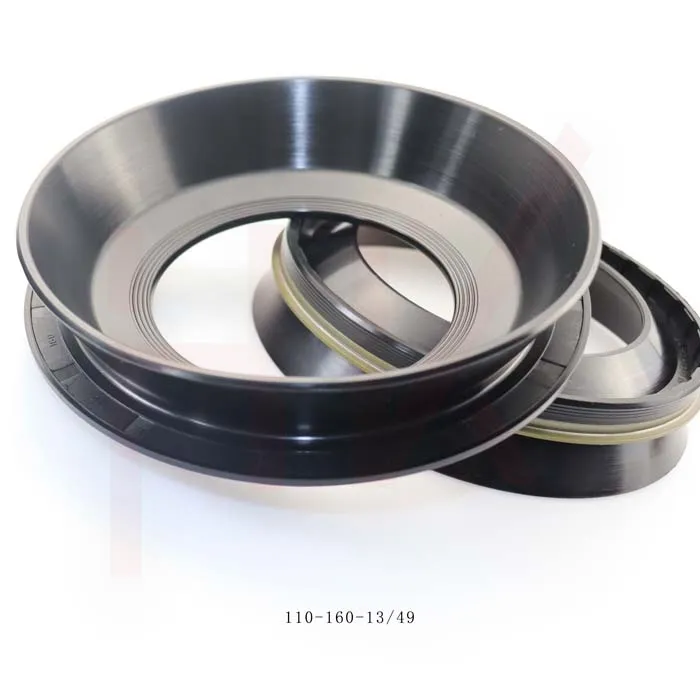
110*160*13/49 NBR reducerConcrete mixer truck oil seal
-
Hub oil seal 40*65*13/14.5 suitable for tractor Cat 12018035b
-
Cement tank truck bowl-shaped oil seal 135*175*11/38 K713 concrete mixer reducer oil seal
-
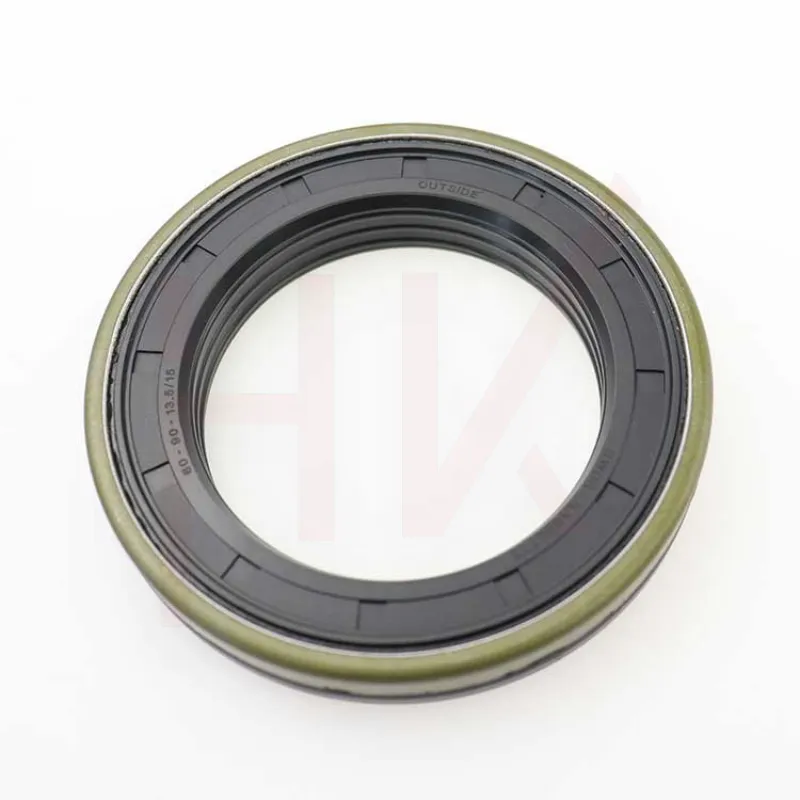
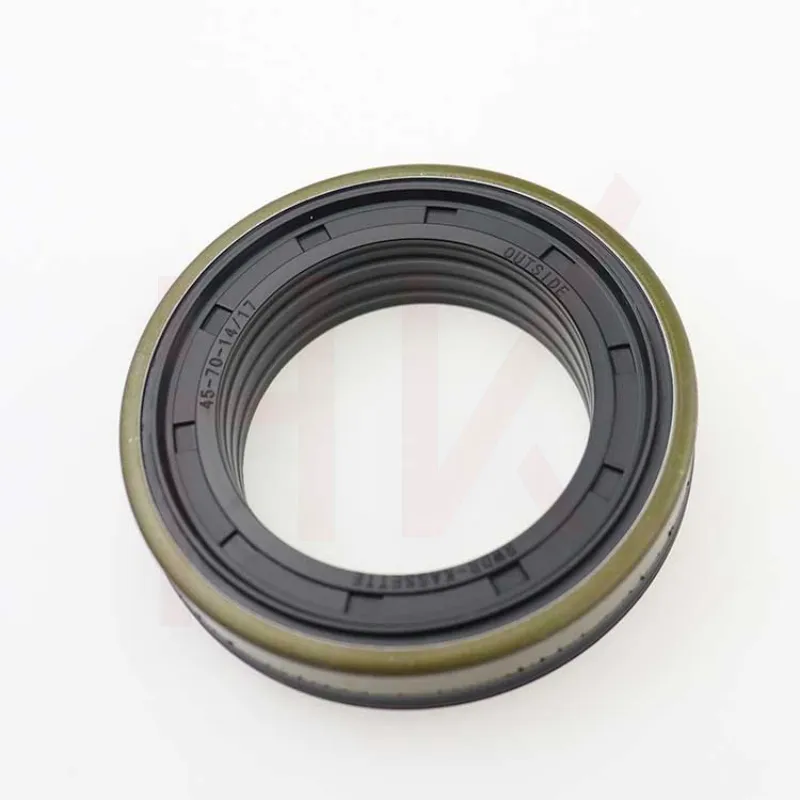
Tractor accessories cassette oil seal hub oil seal 60-90-13.5/15
-
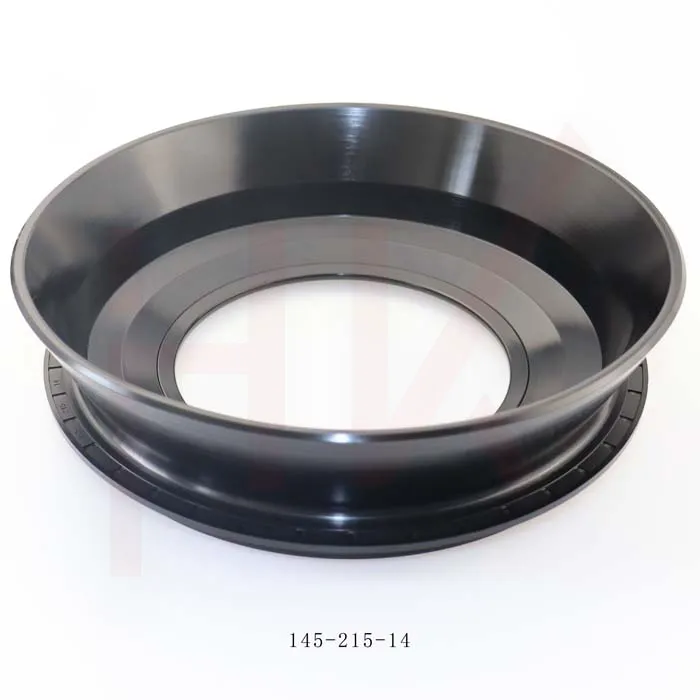
Factory concrete mixer truck oil seal 145*215*14 reducer gearbox oil seal
-
145*189*15.5/17 Cassette Seal NBR Hub Oil Seal 1508044
-

Factory direct sales hydraulic pump motor seal kit A8VO140
-
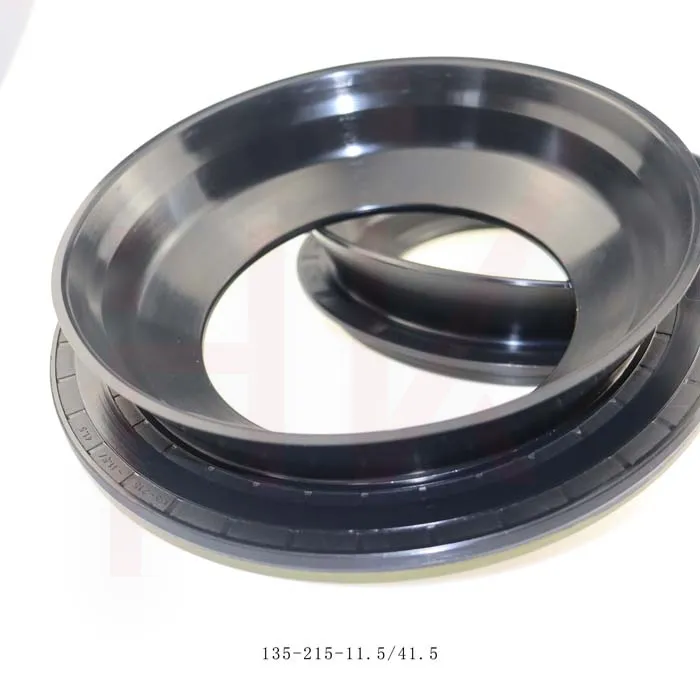
Brand new cement tanker oil seal 135*215*11.5/41.5 concrete mixer oil seal
-

Standard oil seal BP0494 High pressure TCN oil seal
-
45*65*15 Combi oil seal JCB 90450009 COMBI SF1 SEAL
-
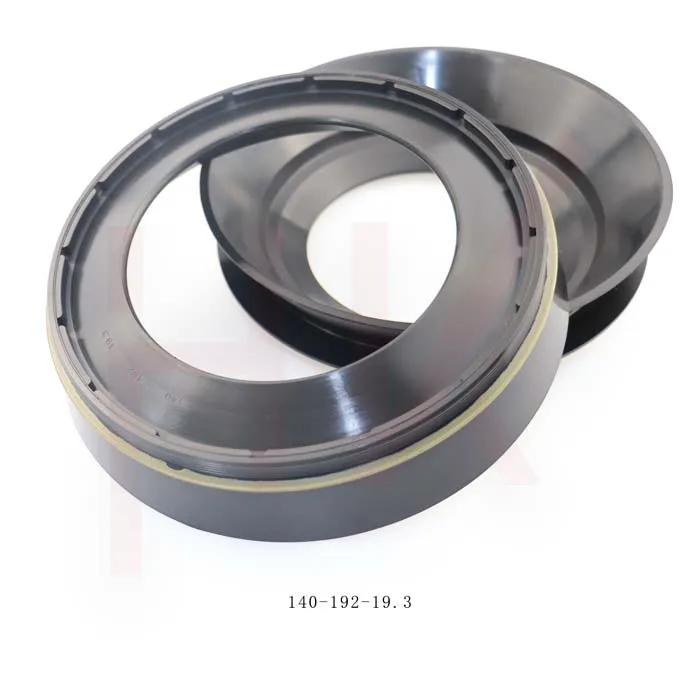
Gear box concrete mixer oil seal 140*192*19.3 nbr reducer oil seal
-
Hydraulic pump seal AP4624G high pressure TCN oil seal