
10 月 . 31, 2024 07:36 Back to list
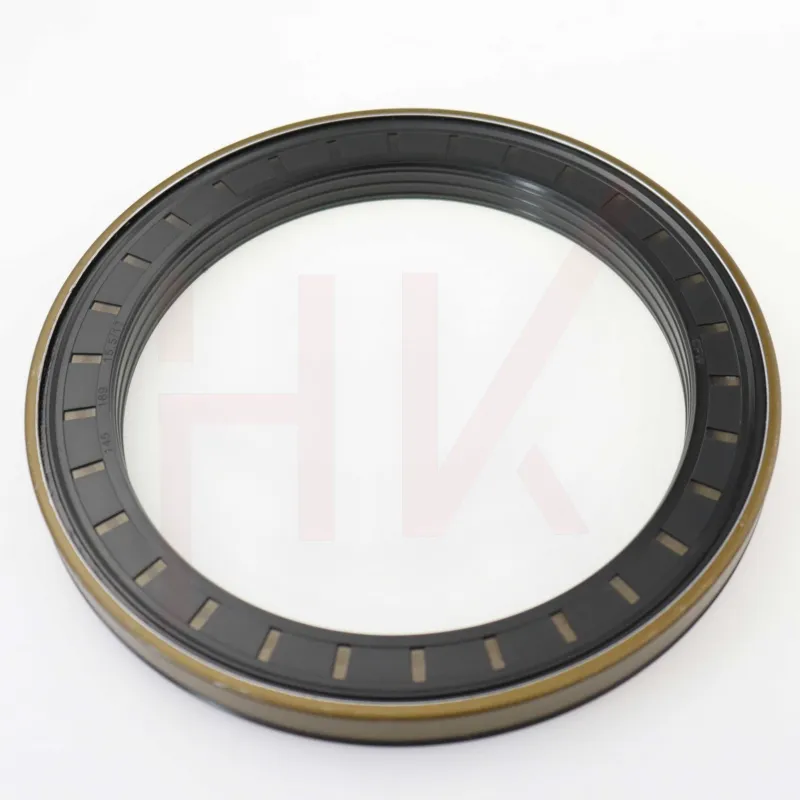
hydraulic ram seal replacement
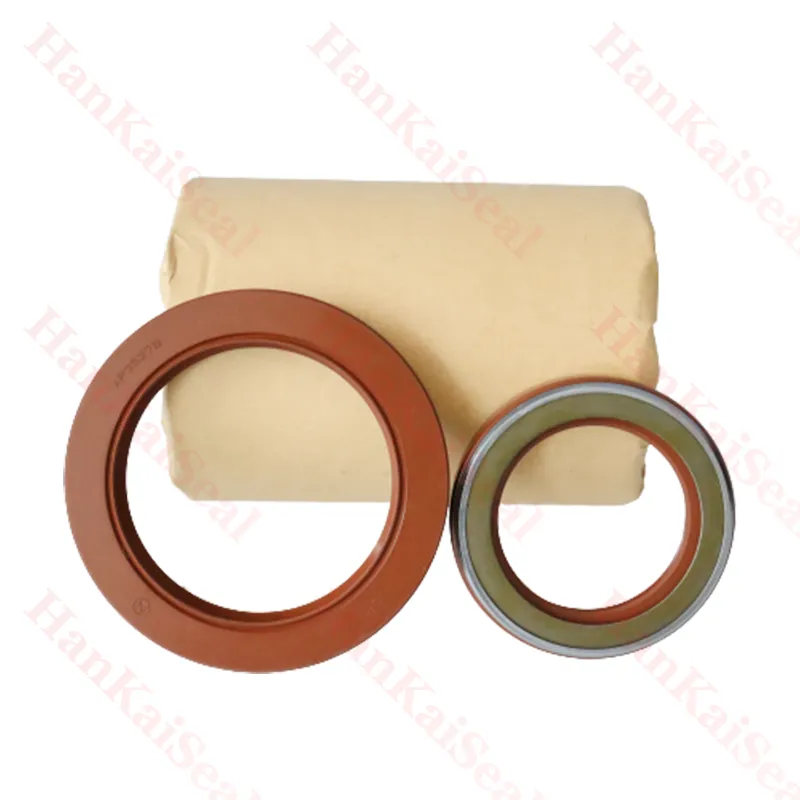
Hydraulic Ram Seal Replacement A Comprehensive Guide
Hydraulic rams are essential components in various machinery and equipment, playing a crucial role in lifting, pushing, and pulling heavy loads. Over time, the seals in these hydraulic rams can wear out, leading to leaks and reduced efficiency. Replacing the seals is a vital maintenance task that can prolong the life of your hydraulic system. In this article, we will guide you through the process of hydraulic ram seal replacement, detailing the necessary tools and steps involved.
Understanding the Symptoms
Before you begin the seal replacement process, it’s essential to identify the symptoms of a worn seal. Common indicators include hydraulic fluid leaks, reduced lifting capacity, and irregular movements. If you notice any of these signs, it’s time to replace the seals in your hydraulic ram.
Tools and Materials Needed
To replace hydraulic ram seals, gather the following tools and materials
1. Replacement Seals Ensure you have the correct size and type for your specific ram. 2. Wrenches and Socket Set For loosening and removing bolts. 3. Seal Puller To safely remove old seals without damaging the ram. 4. Cleaning Supplies Such as rags and a cleaning solvent for maintaining cleanliness during the process. 5. Lubricant To assist in installing the new seals. 6. Safety Gear Gloves and goggles to protect yourself during the replacement.
Step-by-Step Replacement Process
hydraulic ram seal replacement

1. Disassemble the Ram Begin by carefully removing the hydraulic ram from its assembly. Use the appropriate wrenches to loosen the bolts and detach it from the system.
2. Remove Old Seals Once disassembled, use a seal puller to carefully extract the old seals from the ram. Make sure not to scratch or damage the ram surface during this process.
3. Clean the Components Thoroughly clean the ram and other components to remove any residue or old hydraulic fluid. This step is critical to ensure a proper seal installation.
4. Install New Seals Apply a light coat of lubricant to the new seals and carefully place them into position. Make sure they are seated evenly and securely.
5. Reassemble the Ram Carefully reassemble the hydraulic ram, ensuring all components are aligned and securely tightened. Double-check the torque specifications for your specific equipment.
6. Test for Leaks Once reassembled, reconnect the hydraulic ram to the system and fill it with hydraulic fluid. Test the system under normal operating conditions and check for any signs of leaks.
Conclusion
Replacing the seals in a hydraulic ram is a straightforward process that can significantly enhance the performance and longevity of your equipment. By following these steps and using the right tools, you can effectively conduct seal replacements, ensuring your hydraulic system operates smoothly and efficiently. Regular maintenance, including seal replacements, will save you time and money in the long run.
-
The Power of Advanced Sealing: High-Pressure Solutions for Modern Machinery
NewsOct.29,2024
-
Optimizing Machinery with High-Performance Oil Seals
NewsOct.29,2024
-
Maximizing Machinery Efficiency with Advanced Oil Seals
NewsOct.29,2024
-
Ensuring Equipment Longevity with Quality Oil Seals
NewsOct.29,2024
-
Enhance Equipment Performance with Quality Oil Seals
NewsOct.29,2024
-
Custom Oil Seals for Specialized Machinery Needs
NewsOct.29,2024
-
The Role of Wiper Seals in Dust Sealing and Oil Protection
NewsOct.20,2024
Products categories
-
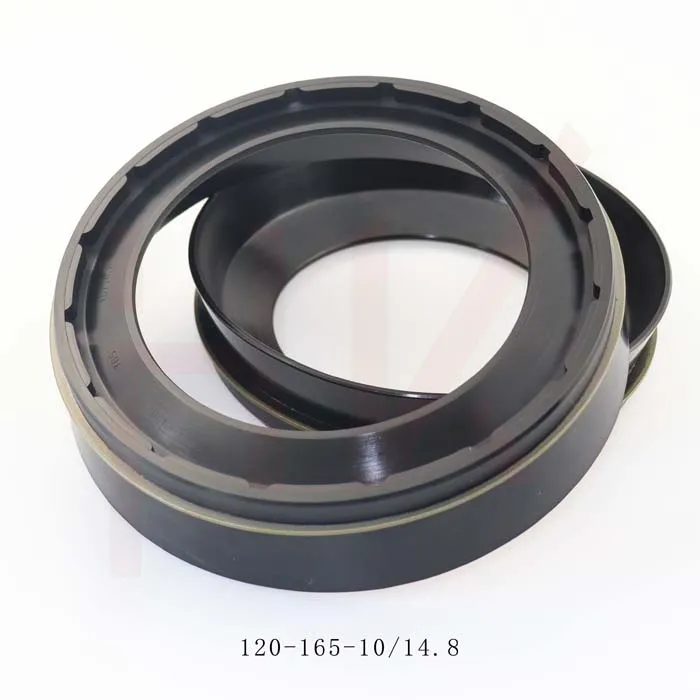
0734307418 0750112169 120*165*10/14.8 concrete mixer reducer oil seal
-
35*52*16 Standard Wheel Hub Oil Seal For Agricultural Machinery
-

123*165*14.8 concrete mixer truck reducer oil seal
-
Tractor shaft oil seal 65-90-20 COMBI SF19 hub oil seal
-
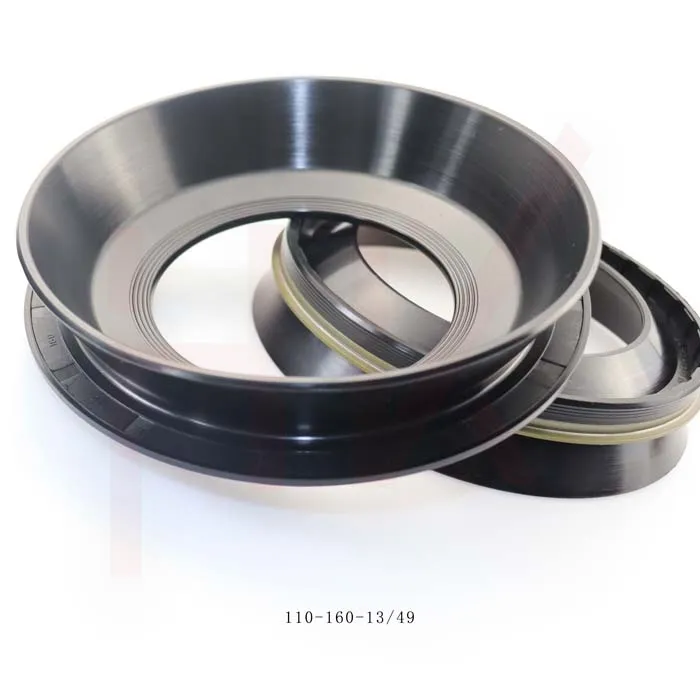
110*160*13/49 NBR reducerConcrete mixer truck oil seal
-
Hub oil seal 40*65*13/14.5 suitable for tractor Cat 12018035b
-
Cement tank truck bowl-shaped oil seal 135*175*11/38 K713 concrete mixer reducer oil seal
-
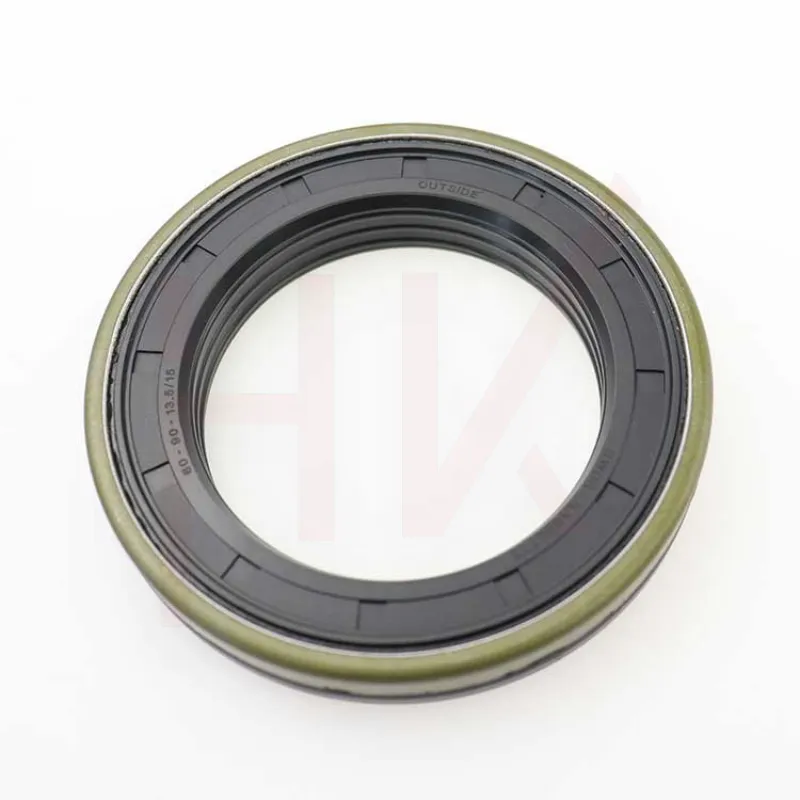
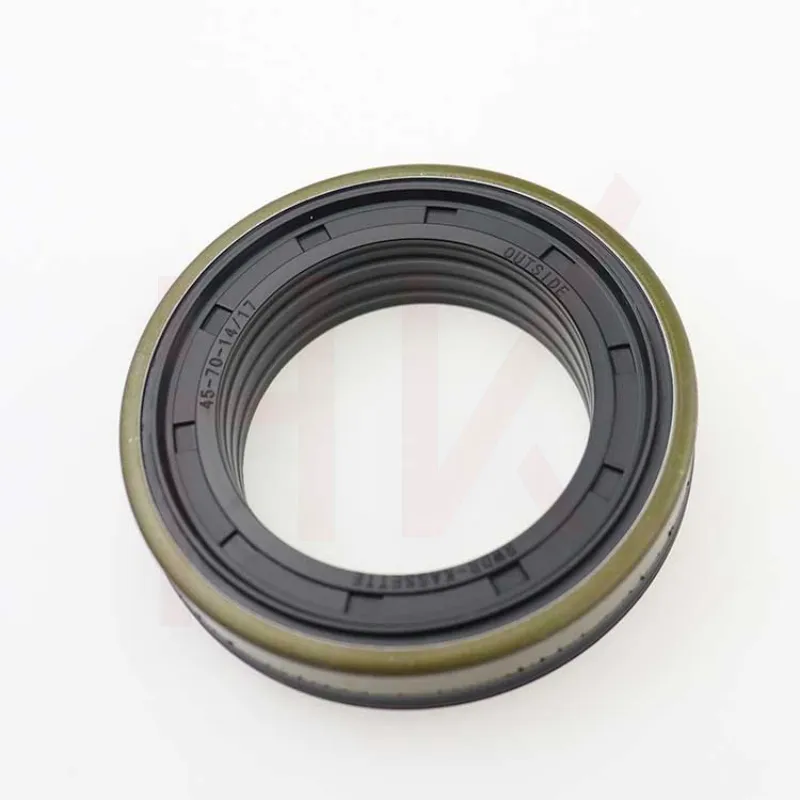
Tractor accessories cassette oil seal hub oil seal 60-90-13.5/15
-
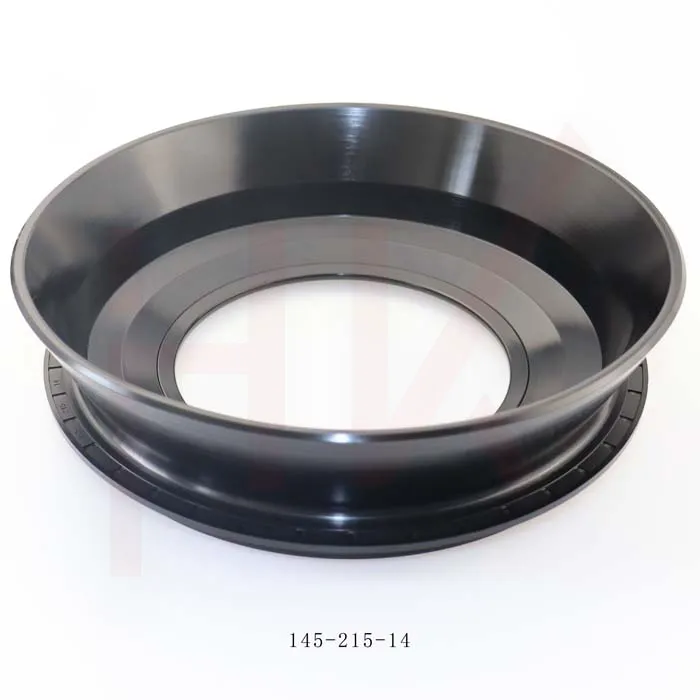
Factory concrete mixer truck oil seal 145*215*14 reducer gearbox oil seal
-
145*189*15.5/17 Cassette Seal NBR Hub Oil Seal 1508044
-

Factory direct sales hydraulic pump motor seal kit A8VO140
-
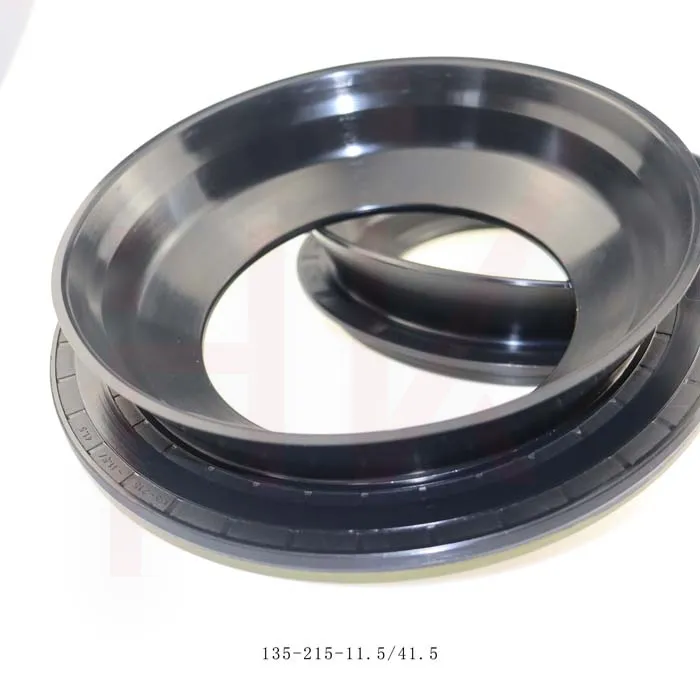
Brand new cement tanker oil seal 135*215*11.5/41.5 concrete mixer oil seal
-

Standard oil seal BP0494 High pressure TCN oil seal
-
45*65*15 Combi oil seal JCB 90450009 COMBI SF1 SEAL
-
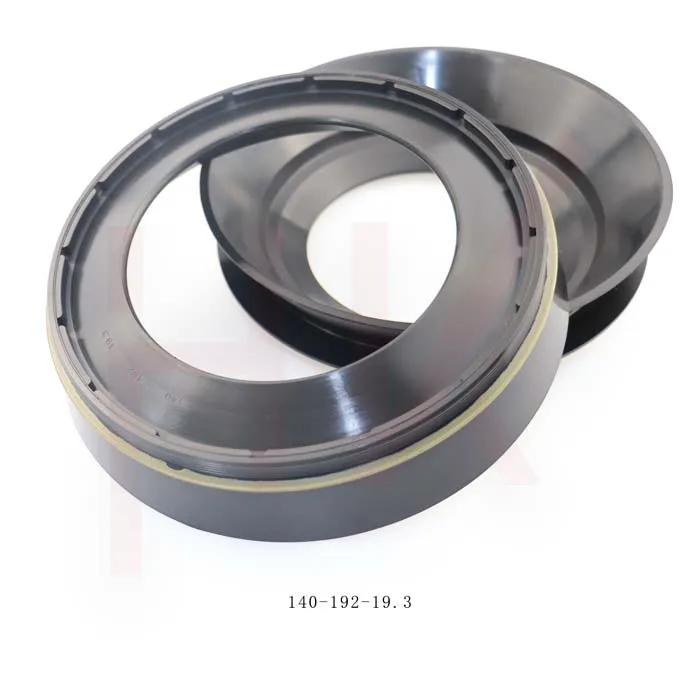
Gear box concrete mixer oil seal 140*192*19.3 nbr reducer oil seal
-
Hydraulic pump seal AP4624G high pressure TCN oil seal