
9 月 . 23, 2024 14:23 Back to list
Hydraulic Ram Seal Replacement Guide for Improved Performance and Longevity
Hydraulic Ram Seal Replacement A Comprehensive Guide
Hydraulic rams are integral components in many industrial and agricultural applications, providing efficient power for lifting, pushing, and moving heavy loads. However, like all mechanical systems, they are subject to wear and tear over time, particularly their seals. Seal failure can lead to hydraulic fluid leaks, diminished performance, and ultimately, costly downtime. This guide will provide you with a step-by-step process for hydraulic ram seal replacement to keep your equipment running smoothly.
Understanding the Importance of Seals
Seals in hydraulic rams serve the critical function of preventing hydraulic fluid from leaking out of the cylinder while maintaining pressure within the system. When seals deteriorate due to age, friction, or contamination, they can no longer perform their duties effectively. Signs of seal failure include visible leaks, decreased lifting capacity, and inconsistent performance. Addressing these issues promptly through seal replacement can save you from more extensive repairs.
Tools and Materials Needed
Before beginning the replacement process, gather the necessary tools and materials
- Replacement seals specific to your hydraulic ram model - A set of wrenches and sockets - Screwdrivers (Phillips and flat-head) - Pliers - A hydraulic fluid catch pan - Clean rag or cloths - Clean hydraulic oil for refilling
Step-by-Step Seal Replacement Process
1. Safety First Ensure that the hydraulic ram is isolated from any power source. Depressurize the system to avoid any accidents during the repair.
2. Remove the Hydraulic Ram Disconnect the ram from its mounting brackets and any attached hoses. Use a hydraulic fluid catch pan to prevent spills.
hydraulic ram seal replacement

3. Disassemble the Ram Carefully unscrew and separate the ram's components to access the seals. Take note of the arrangement of parts for reassembly.
4. Inspect the Components While you have the ram disassembled, inspect all associated components for additional wear or damage. This includes checking the piston and cylinder for scoring or pitting.
5. Remove Old Seals Use a flat-head screwdriver or seal removal tool to carefully extract the old seals from their grooves. Take care not to scratch or damage the surfaces.
6. Clean the Surface Thoroughly clean the sealing surfaces using a clean cloth to remove any debris, old fluid, or dirt. This step is crucial for ensuring a good seal once replaced.
7. Install New Seals Lubricate the new seals with fresh hydraulic oil before installation. Carefully position them in their respective grooves, ensuring they are seated correctly.
8. Reassemble the Ram Reattach the components in the reverse order of disassembly. Ensure all bolts and screws are tightened to the manufacturer’s specified torque.
9. Reconnect and Test Once the ram is reassembled, reconnect it to the mounting brackets and hoses. Refill the hydraulic system with the appropriate fluid and restore pressure. Perform a thorough test to check for any leaks or performance issues.
Conclusion
Replacing seals in hydraulic rams is a crucial maintenance task that ensures longevity and efficiency in operations. By following these steps, you can effectively replace the seals, prevent costly downtime, and maintain the performance of your hydraulic systems. Regular inspections and proactive maintenance will go a long way in keeping your hydraulic equipment in top condition.
-
The Power of Advanced Sealing: High-Pressure Solutions for Modern Machinery
NewsOct.29,2024
-
Optimizing Machinery with High-Performance Oil Seals
NewsOct.29,2024
-
Maximizing Machinery Efficiency with Advanced Oil Seals
NewsOct.29,2024
-
Ensuring Equipment Longevity with Quality Oil Seals
NewsOct.29,2024
-
Enhance Equipment Performance with Quality Oil Seals
NewsOct.29,2024
-
Custom Oil Seals for Specialized Machinery Needs
NewsOct.29,2024
-
The Role of Wiper Seals in Dust Sealing and Oil Protection
NewsOct.20,2024
Products categories
-
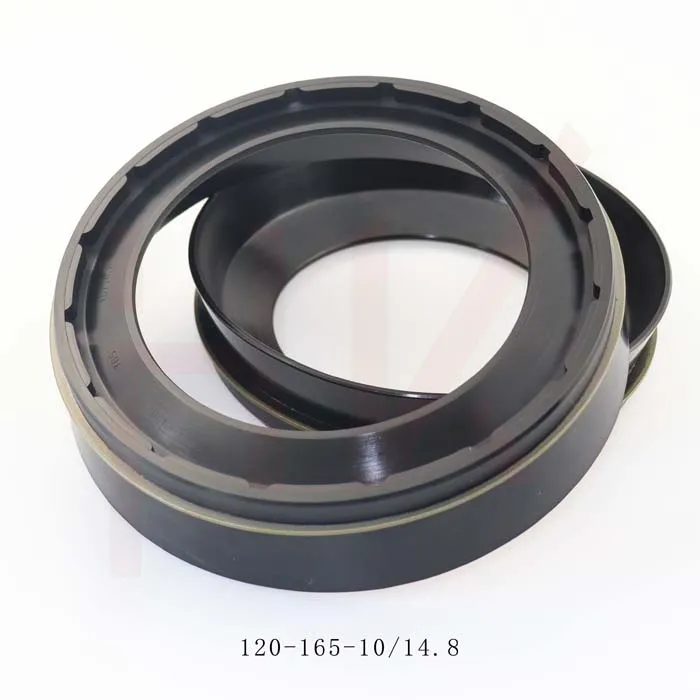
0734307418 0750112169 120*165*10/14.8 concrete mixer reducer oil seal
-
35*52*16 Standard Wheel Hub Oil Seal For Agricultural Machinery
-

123*165*14.8 concrete mixer truck reducer oil seal
-
Tractor shaft oil seal 65-90-20 COMBI SF19 hub oil seal
-
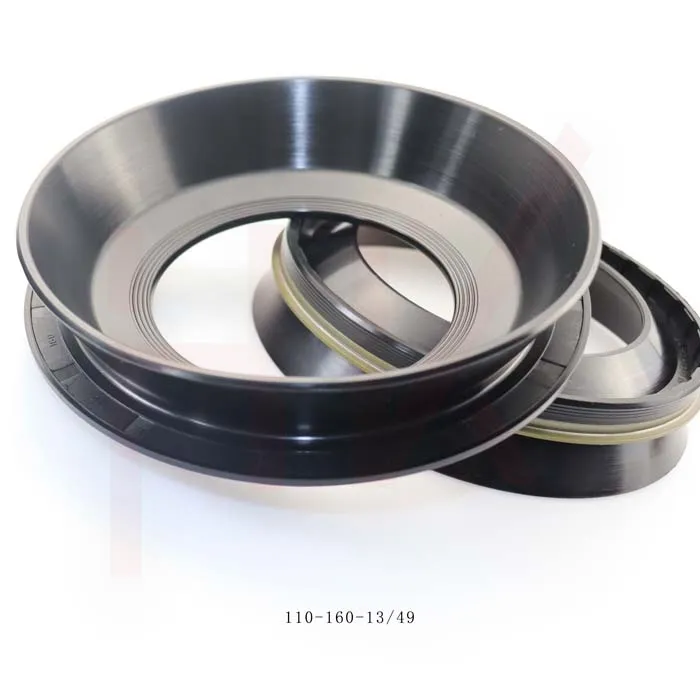
110*160*13/49 NBR reducerConcrete mixer truck oil seal
-
Hub oil seal 40*65*13/14.5 suitable for tractor Cat 12018035b
-
Cement tank truck bowl-shaped oil seal 135*175*11/38 K713 concrete mixer reducer oil seal
-
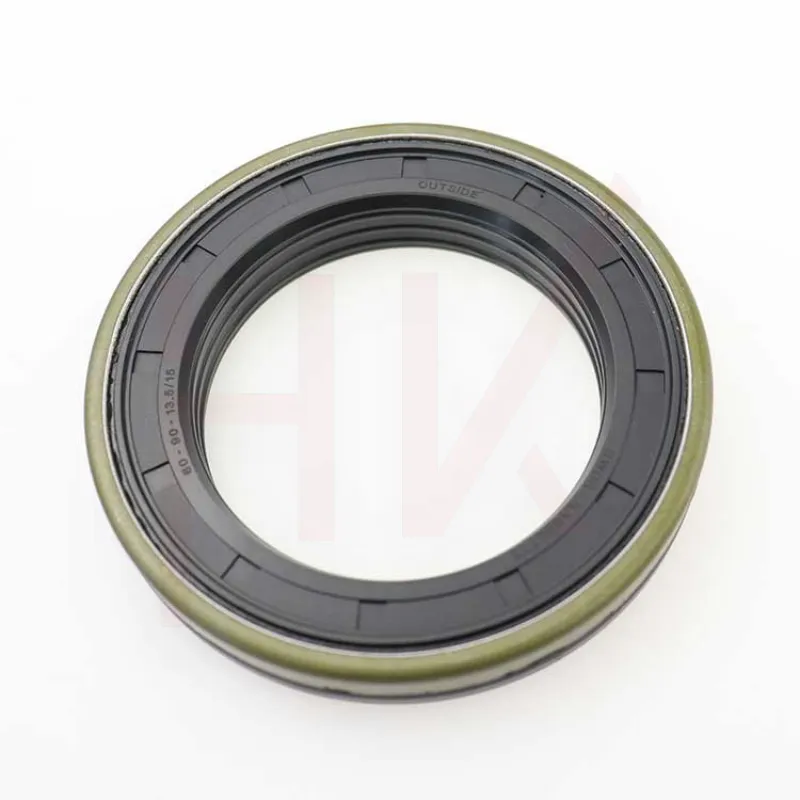
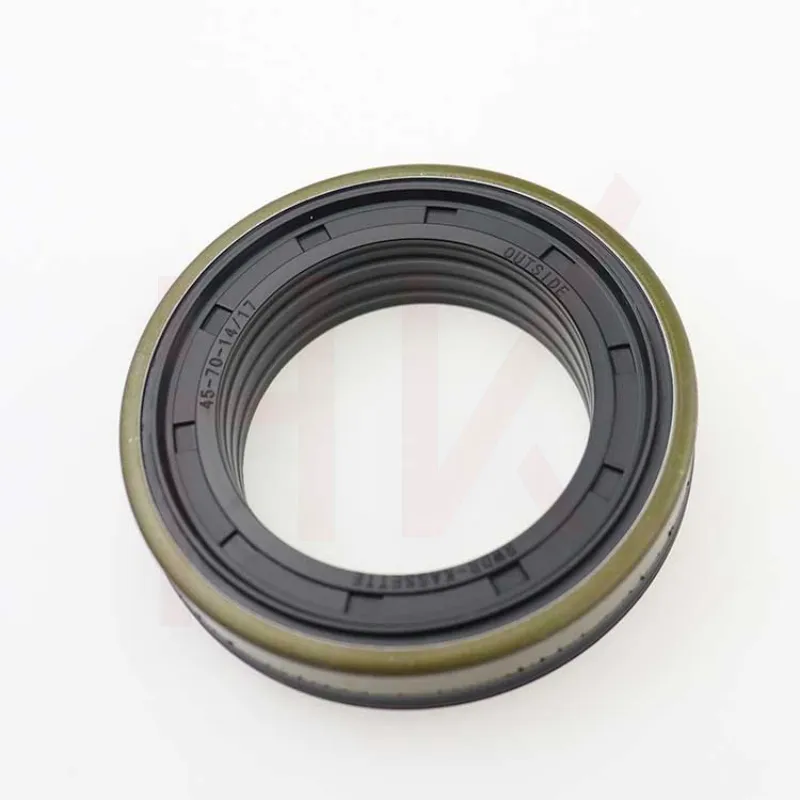
Tractor accessories cassette oil seal hub oil seal 60-90-13.5/15
-
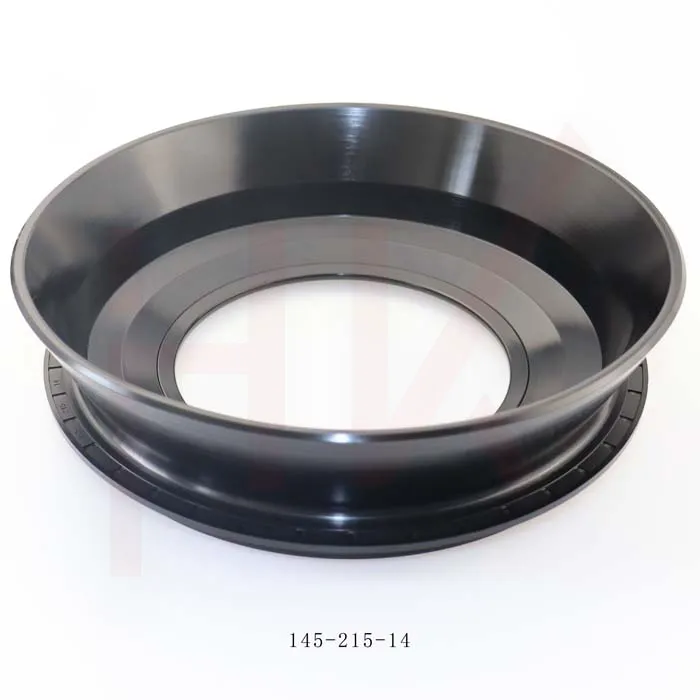
Factory concrete mixer truck oil seal 145*215*14 reducer gearbox oil seal
-
145*189*15.5/17 Cassette Seal NBR Hub Oil Seal 1508044
-

Factory direct sales hydraulic pump motor seal kit A8VO140
-
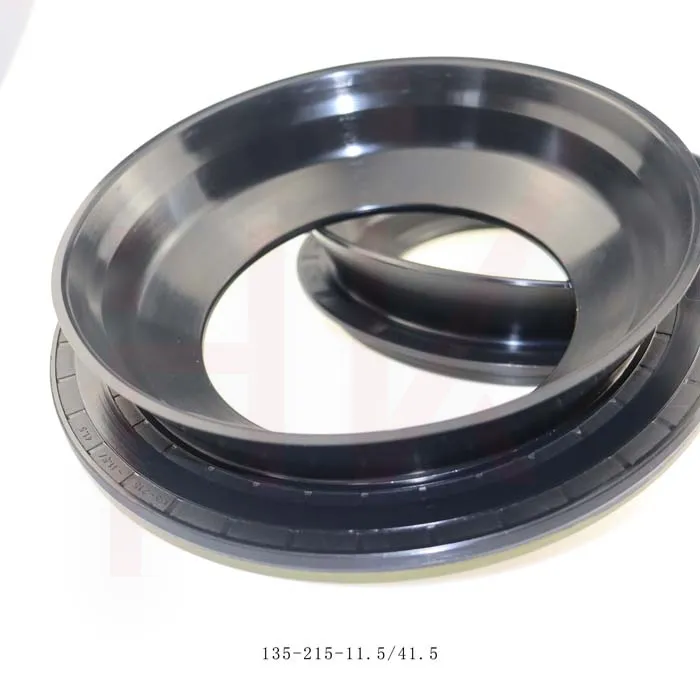
Brand new cement tanker oil seal 135*215*11.5/41.5 concrete mixer oil seal
-

Standard oil seal BP0494 High pressure TCN oil seal
-
45*65*15 Combi oil seal JCB 90450009 COMBI SF1 SEAL
-
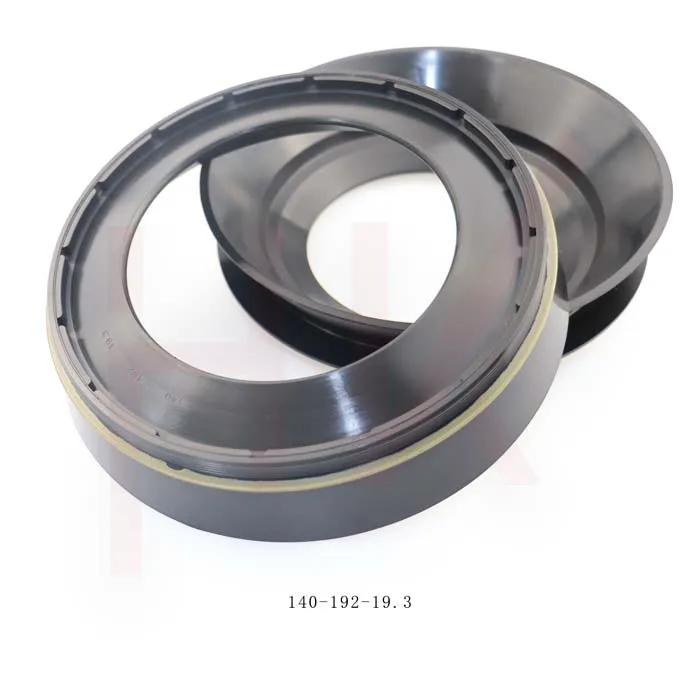
Gear box concrete mixer oil seal 140*192*19.3 nbr reducer oil seal
-
Hydraulic pump seal AP4624G high pressure TCN oil seal