
10 月 . 02, 2024 09:29 Back to list
hydraulic motor seal replacement
Hydraulic Motor Seal Replacement A Comprehensive Guide
Hydraulic motors are essential components in various machinery, converting hydraulic energy into mechanical power. Like any machine part, they are susceptible to wear and tear, especially seals, which are crucial for maintaining hydraulic pressure and preventing fluid leaks. When these seals begin to fail, timely replacement becomes necessary to ensure the system operates efficiently and to prevent further damage to the motor and coupled components. This article outlines the steps and considerations involved in hydraulic motor seal replacement.
Understanding the Signs of Seal Failure
Before diving into the replacement process, it’s important to recognize the signs of seal failure. Common indicators include fluid leaks around the hydraulic motor, decreased performance or efficiency, unusual noises from the motor, and a noticeable drop in hydraulic pressure. If left unaddressed, these symptoms can lead to extensive damage, including the failure of the hydraulic motor itself.
Preparation for Replacement
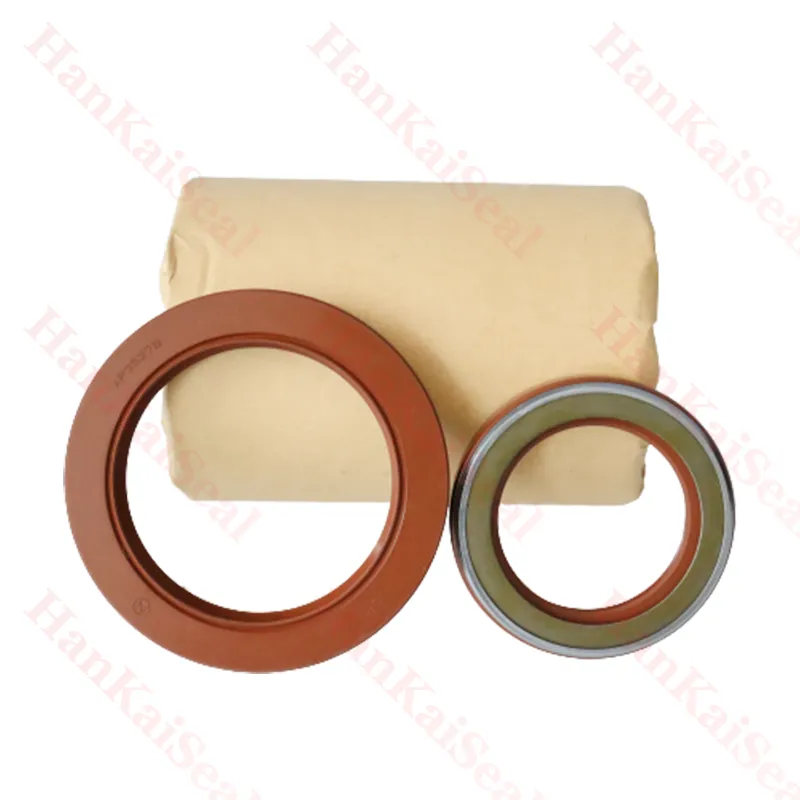
Before initiating the seal replacement process, gather all necessary tools and materials, including replacement seals, O-rings, hydraulic fluid, and basic hand tools such as wrenches and screwdrivers. It’s vital to consult the manufacturer’s manual for specific instructions and to obtain the correct size and type of seals for your hydraulic motor. Additionally, ensure that you have a clean workspace and a containment method for any fluid spills.
Steps for Seal Replacement
1. Disconnect the System Start by safely disconnecting the hydraulic motor from the hydraulic system. Turn off the power supply and relieve any hydraulic pressure to avoid accidents.
2. Remove the Motor Unscrew and detach the hydraulic motor from its mounting. Take care to keep track of all bolts and fittings, as they will be needed for reassembly.
hydraulic motor seal replacement

3. Disassemble the Motor Carefully disassemble the motor to access the seals. Use appropriate tools to remove any components that might obstruct access to the seals without causing damage.
4. Inspect Components Check the condition of the motor parts as you disassemble it. Look for wear, corrosion, or damage that could indicate further issues requiring attention.
5. Replace the Seals Remove the old seals from their grooves carefully. Clean the sealing surfaces to remove debris and old seal material. Install the new seals, ensuring they fit snugly and are oriented correctly according to manufacturer specifications.
6. Reassemble the Motor Once the new seals are in place, reassemble the motor in the reverse order of disassembly. Be cautious with torque specifications to ensure that components are secured without over-tightening.
7. Reconnect the System After reassembling the motor, reconnect it to the hydraulic system. Ensure all fittings are tight and leak-free.
8. Test the System Before fully operating the equipment, conduct a thorough test. Power on the system, check for leaks, and monitor the hydraulic pressure to confirm that the motor operates smoothly.
Conclusion
Replacing hydraulic motor seals may seem daunting, but with the right tools and attention to detail, it is a manageable task. Timely seal replacement not only enhances the performance of the hydraulic system but also prolongs the lifespan of your equipment. By staying vigilant about the signs of seal failure and understanding the steps for replacement, you can maintain an efficient and safe operating environment.
-
The Power of Advanced Sealing: High-Pressure Solutions for Modern Machinery
NewsOct.29,2024
-
Optimizing Machinery with High-Performance Oil Seals
NewsOct.29,2024
-
Maximizing Machinery Efficiency with Advanced Oil Seals
NewsOct.29,2024
-
Ensuring Equipment Longevity with Quality Oil Seals
NewsOct.29,2024
-
Enhance Equipment Performance with Quality Oil Seals
NewsOct.29,2024
-
Custom Oil Seals for Specialized Machinery Needs
NewsOct.29,2024
-
The Role of Wiper Seals in Dust Sealing and Oil Protection
NewsOct.20,2024
Products categories
-
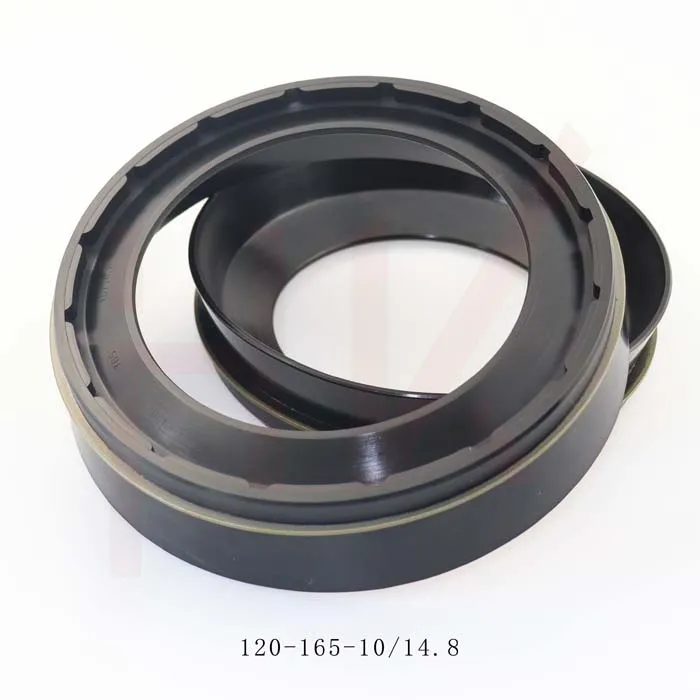
0734307418 0750112169 120*165*10/14.8 concrete mixer reducer oil seal
-
35*52*16 Standard Wheel Hub Oil Seal For Agricultural Machinery
-

123*165*14.8 concrete mixer truck reducer oil seal
-
Tractor shaft oil seal 65-90-20 COMBI SF19 hub oil seal
-
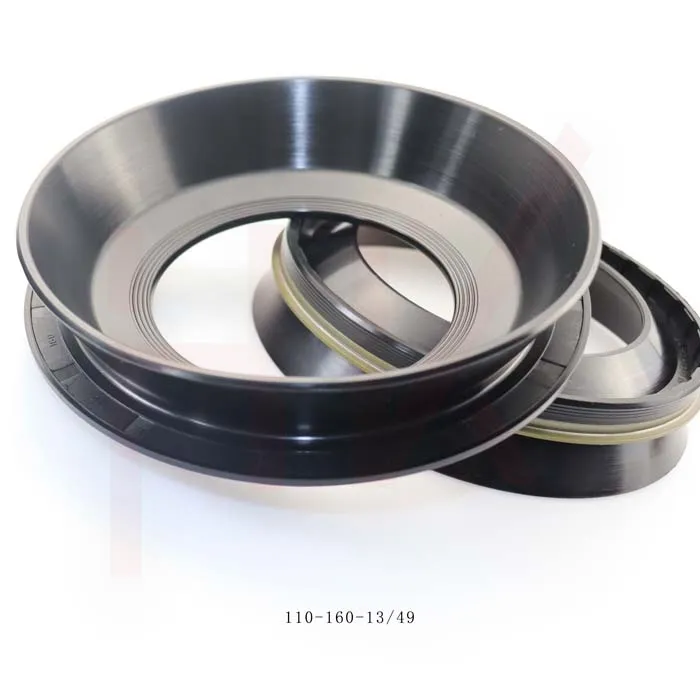
110*160*13/49 NBR reducerConcrete mixer truck oil seal
-
Hub oil seal 40*65*13/14.5 suitable for tractor Cat 12018035b
-
Cement tank truck bowl-shaped oil seal 135*175*11/38 K713 concrete mixer reducer oil seal
-
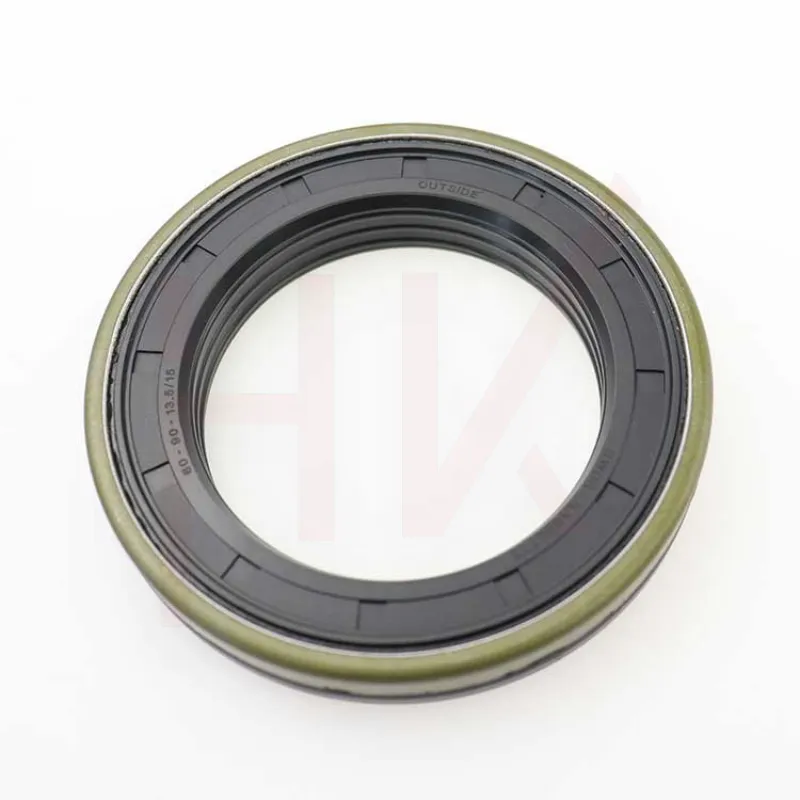
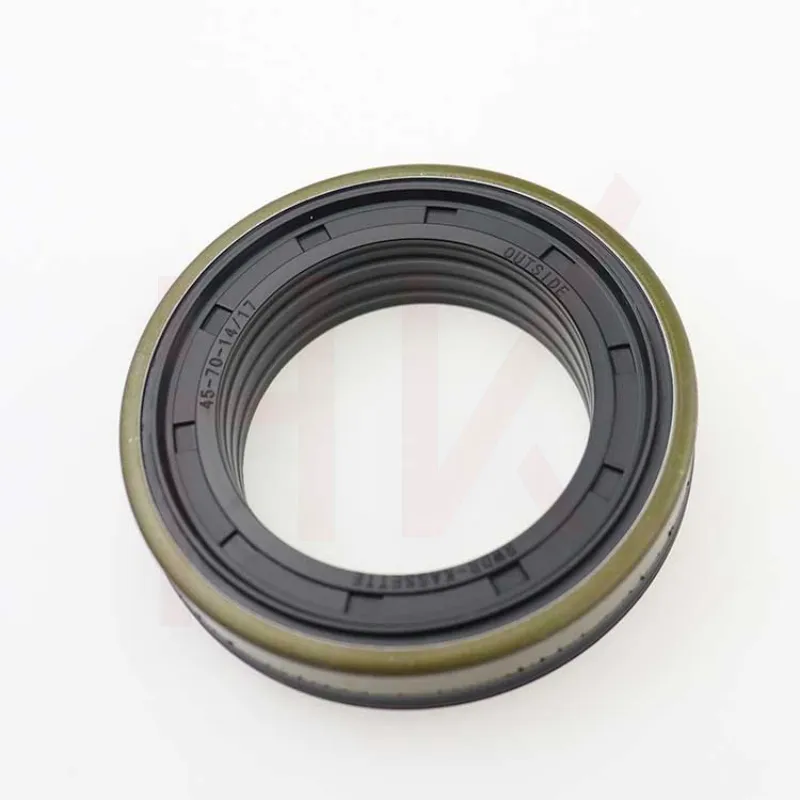
Tractor accessories cassette oil seal hub oil seal 60-90-13.5/15
-
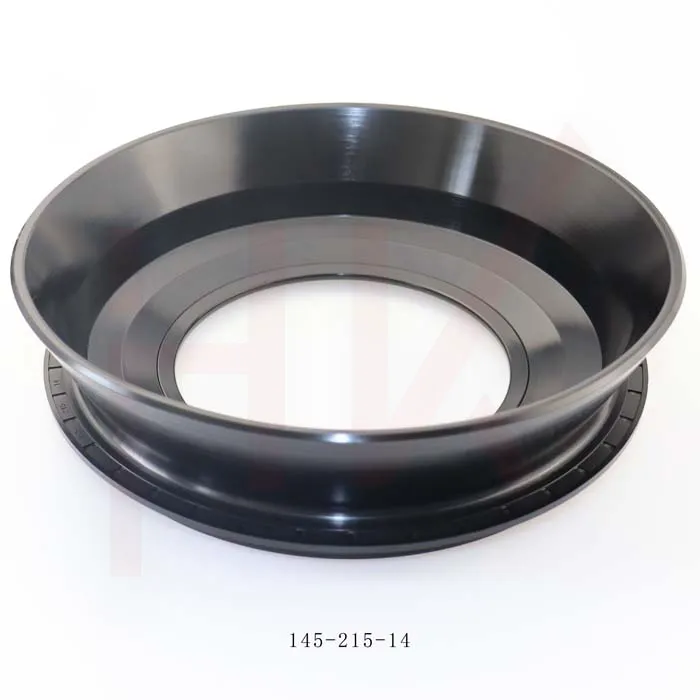
Factory concrete mixer truck oil seal 145*215*14 reducer gearbox oil seal
-
145*189*15.5/17 Cassette Seal NBR Hub Oil Seal 1508044
-

Factory direct sales hydraulic pump motor seal kit A8VO140
-
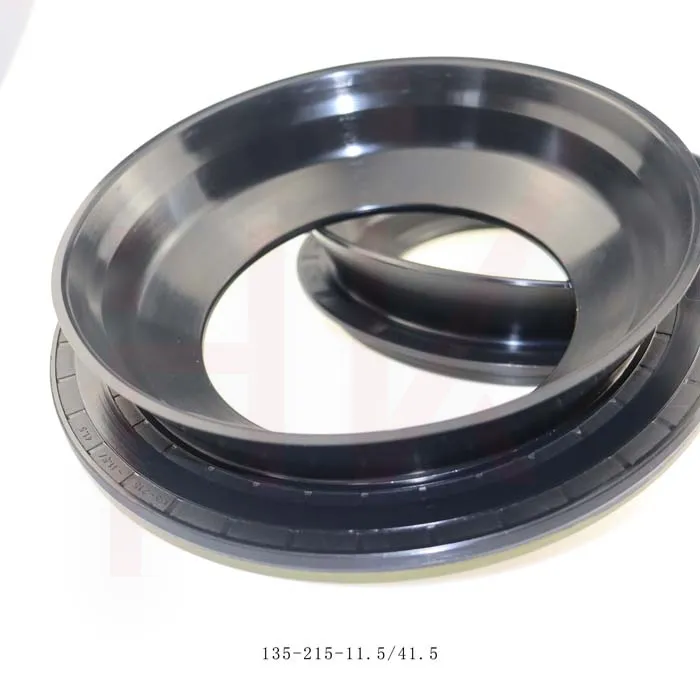
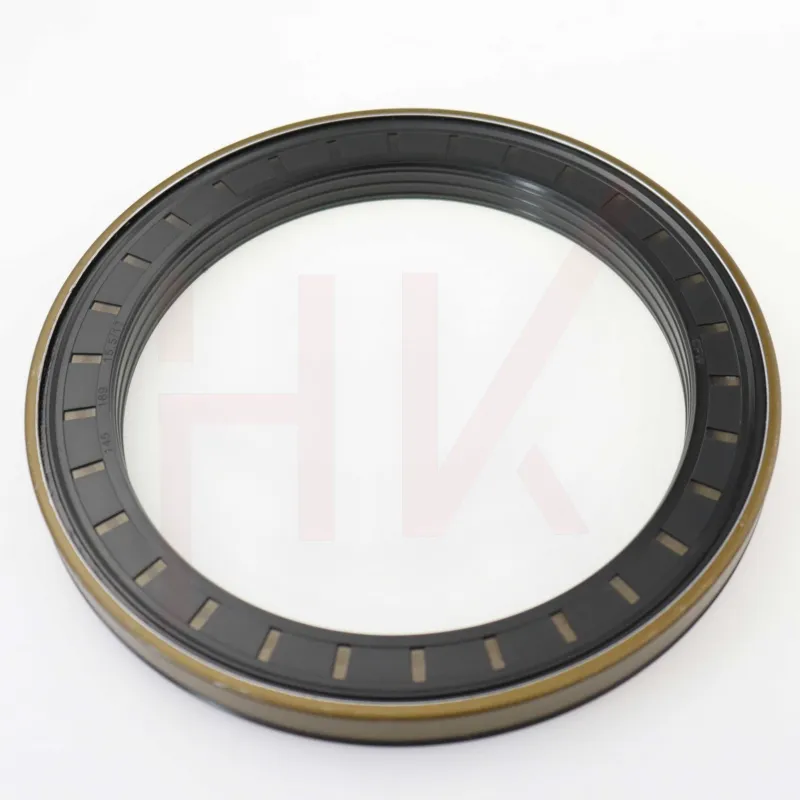
Brand new cement tanker oil seal 135*215*11.5/41.5 concrete mixer oil seal
-

Standard oil seal BP0494 High pressure TCN oil seal
-
45*65*15 Combi oil seal JCB 90450009 COMBI SF1 SEAL
-
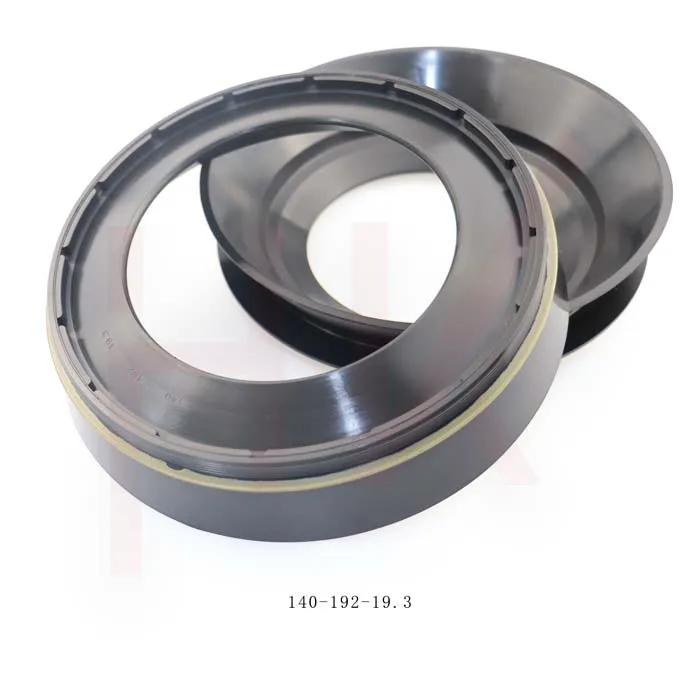
Gear box concrete mixer oil seal 140*192*19.3 nbr reducer oil seal
-
Hydraulic pump seal AP4624G high pressure TCN oil seal